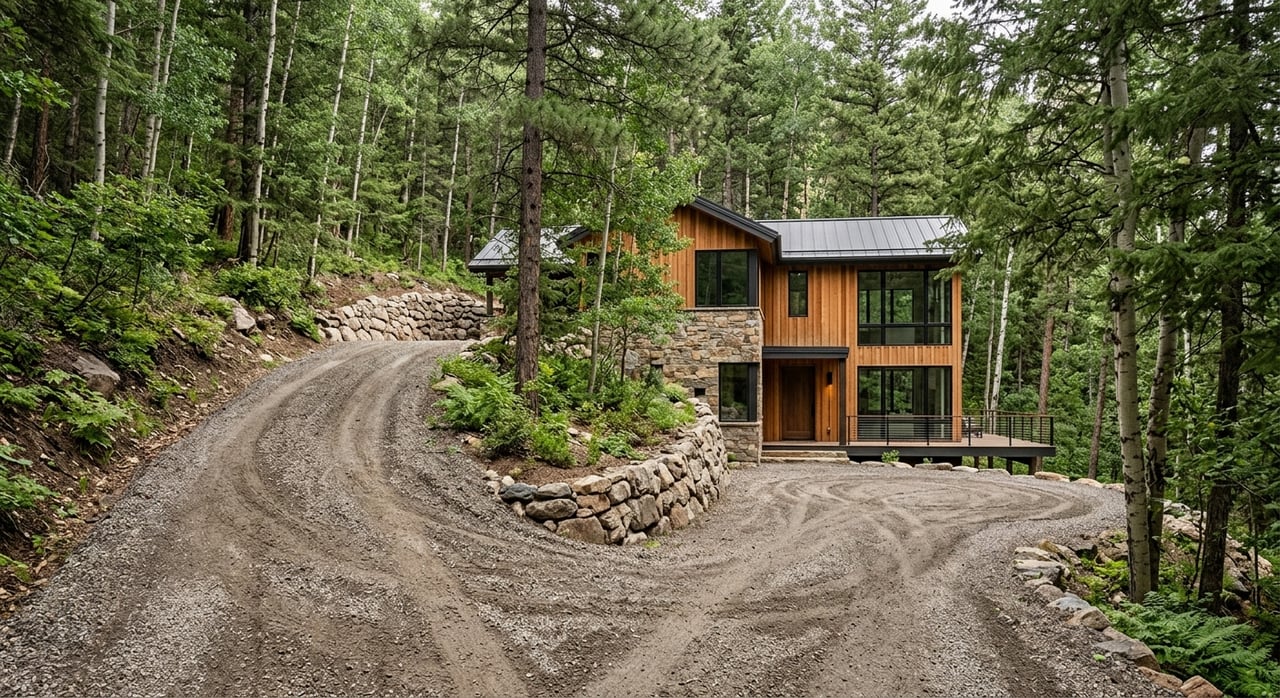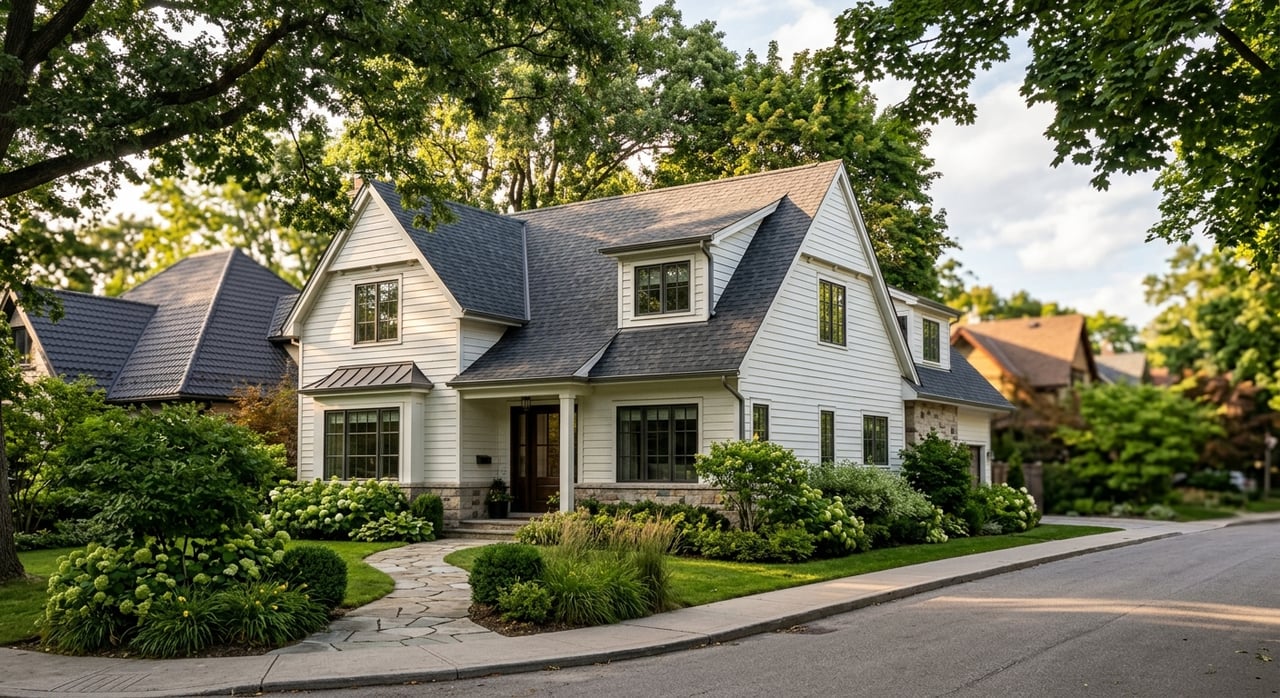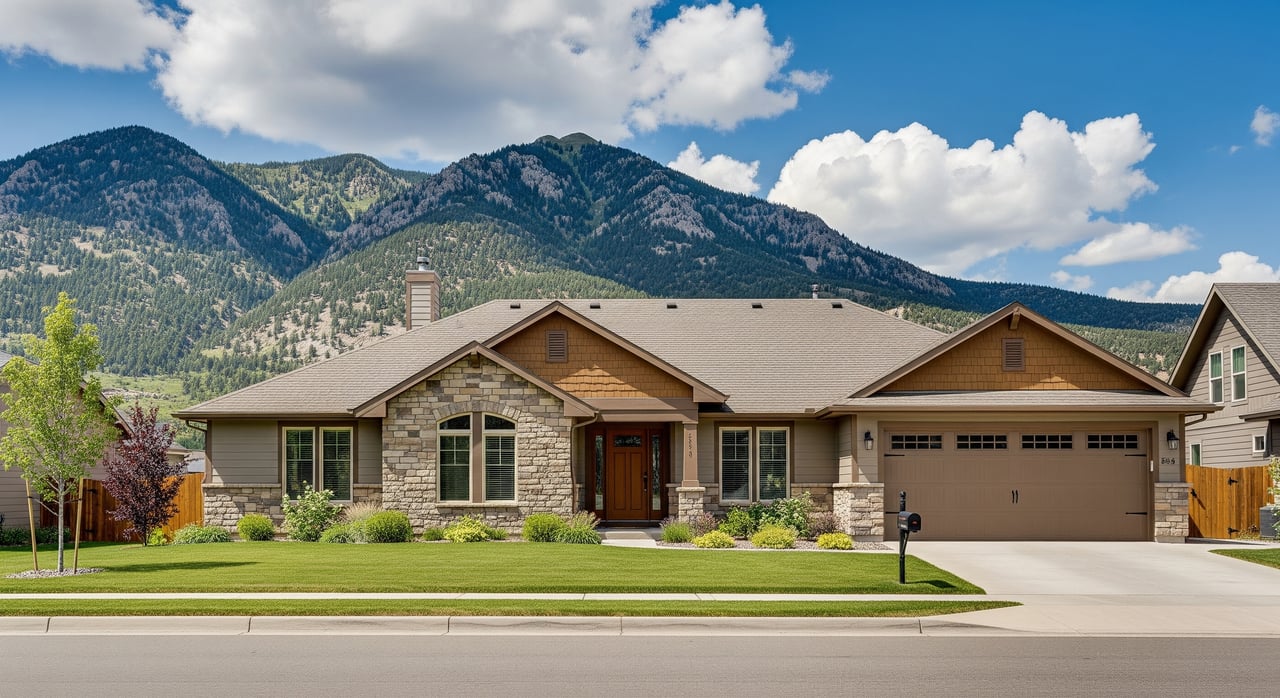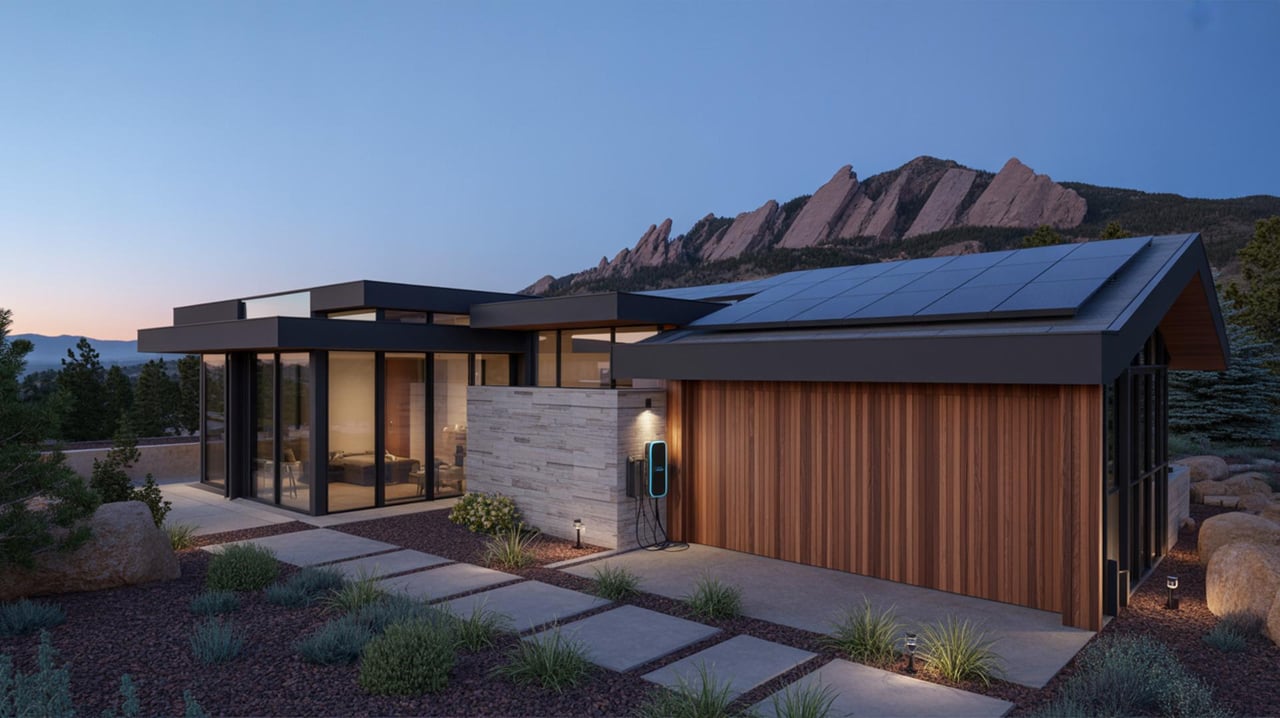
Thinking about selling your Pine Brook Hill home with a jaw-dropping view of the Flatirons or city lights? The right staging can turn that view into the reason buyers schedule a second showing and make a strong offer. You want to show off the lifestyle, but you also need to address foothill realities like access, safety, and wildfire preparedness. In this guide, you’ll learn a practical, room-by-room plan to make your view the hero, plus photography and marketing tips tailored to Pine Brook Hill. Let’s dive in.
What Pine Brook Hill buyers value
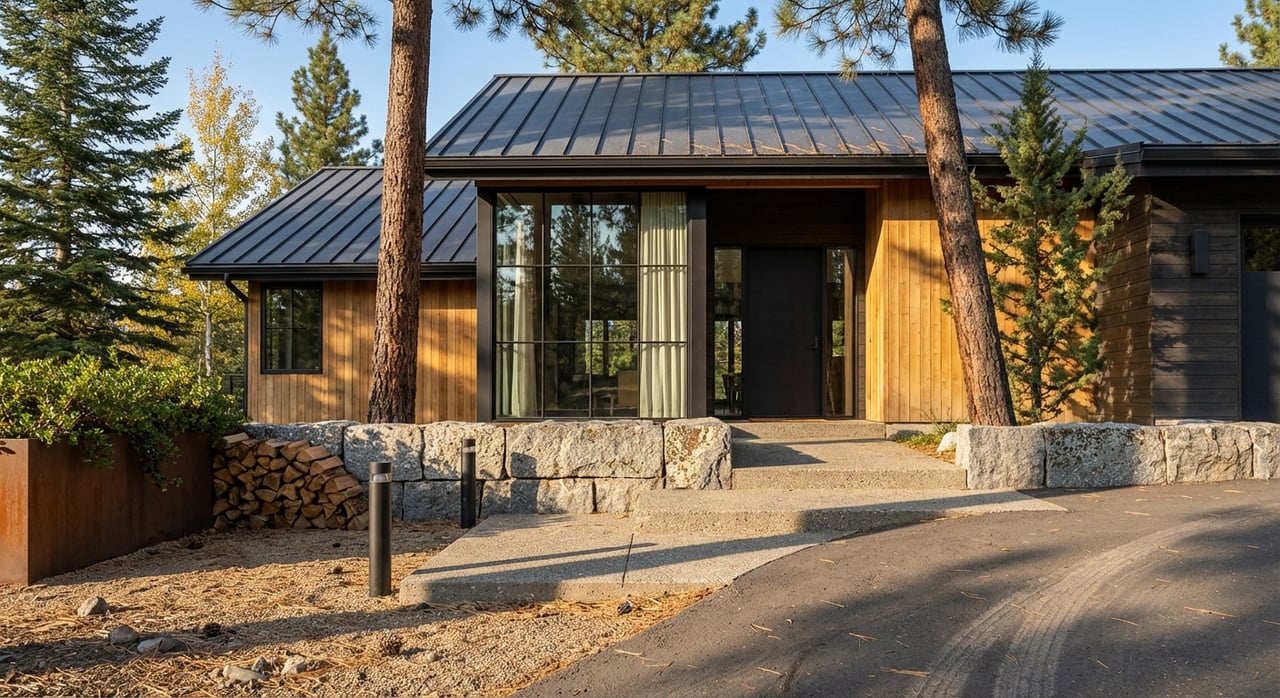
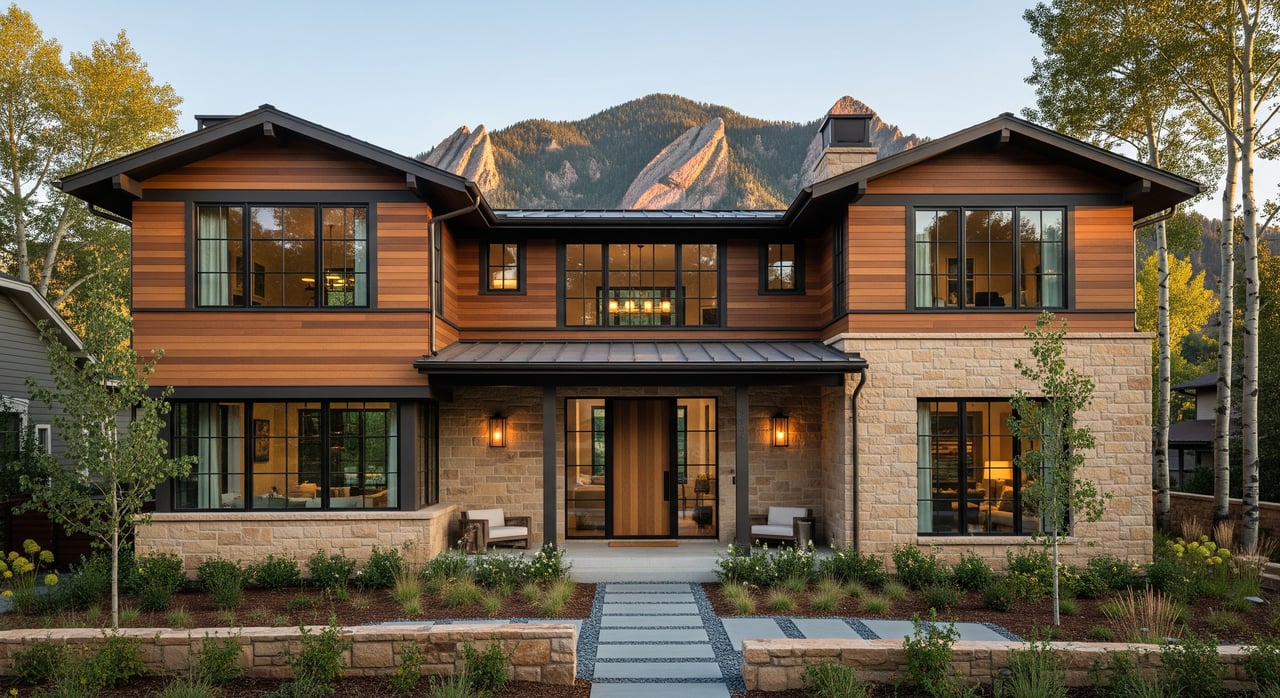
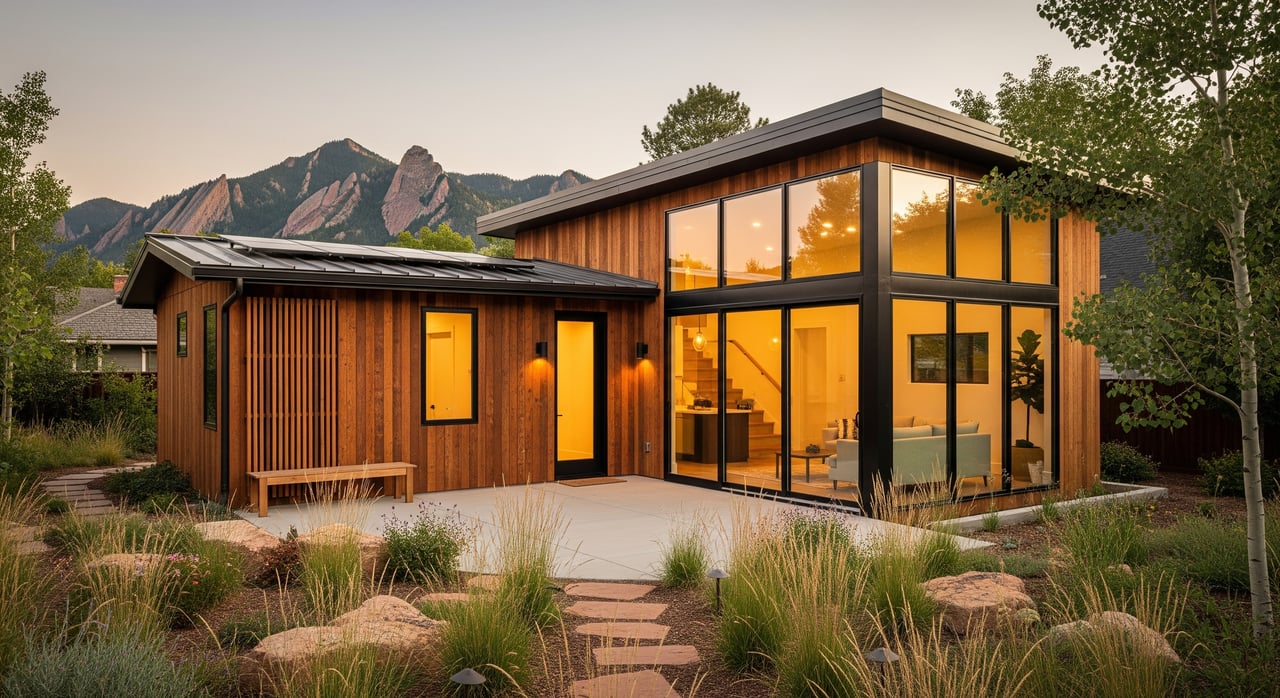
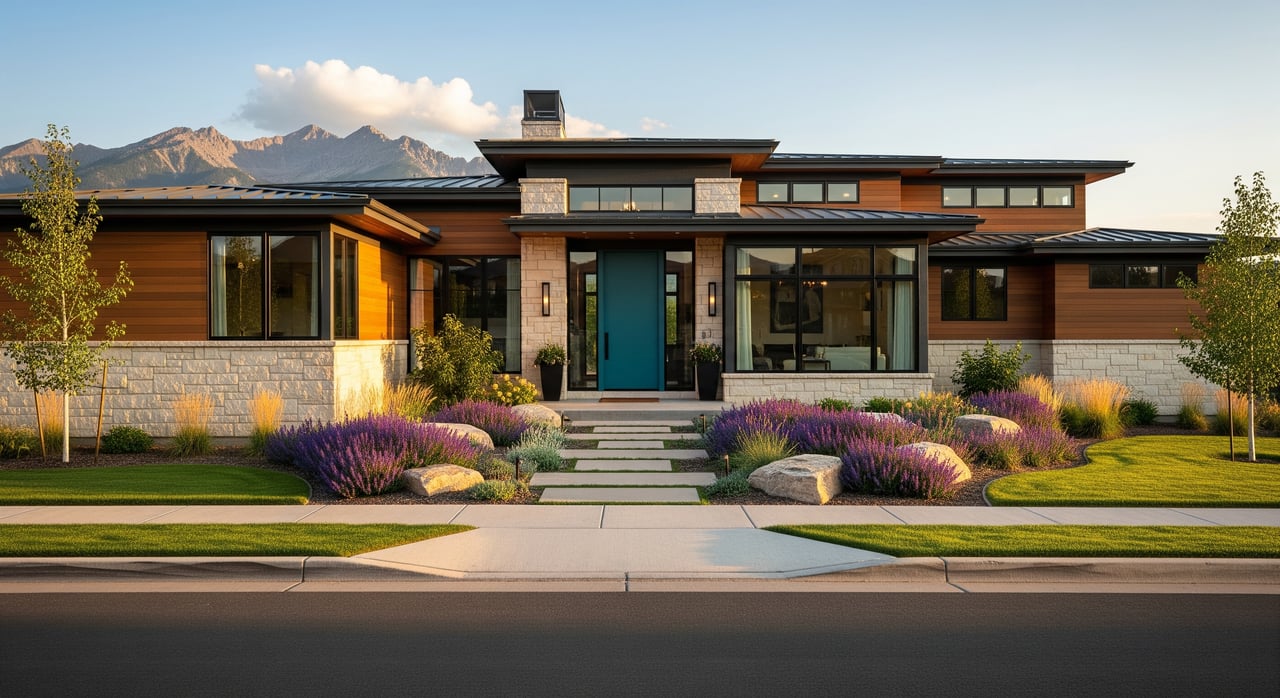
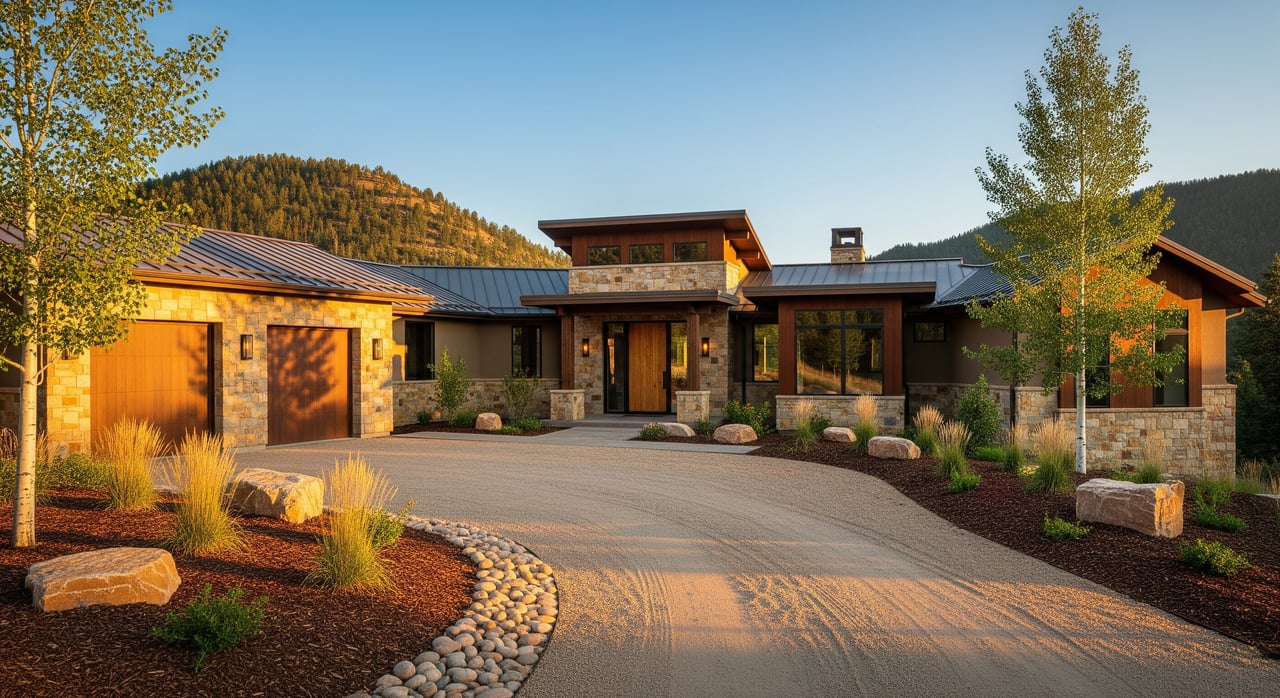
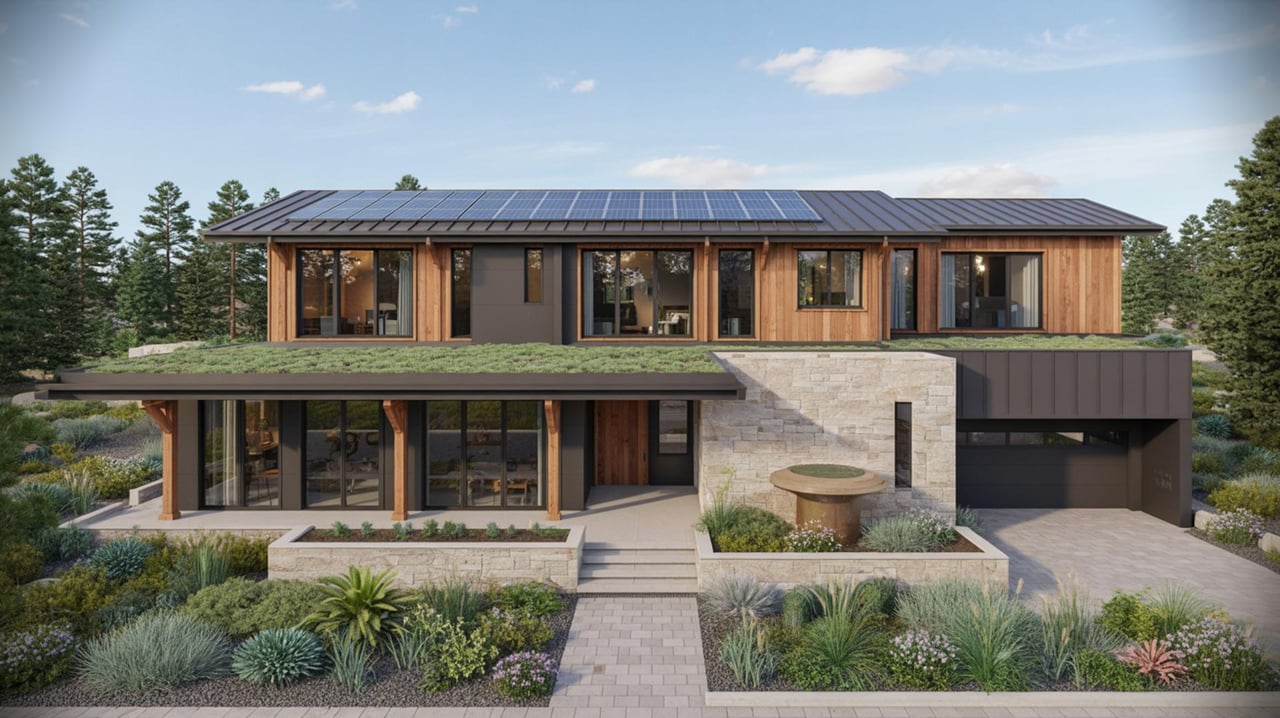
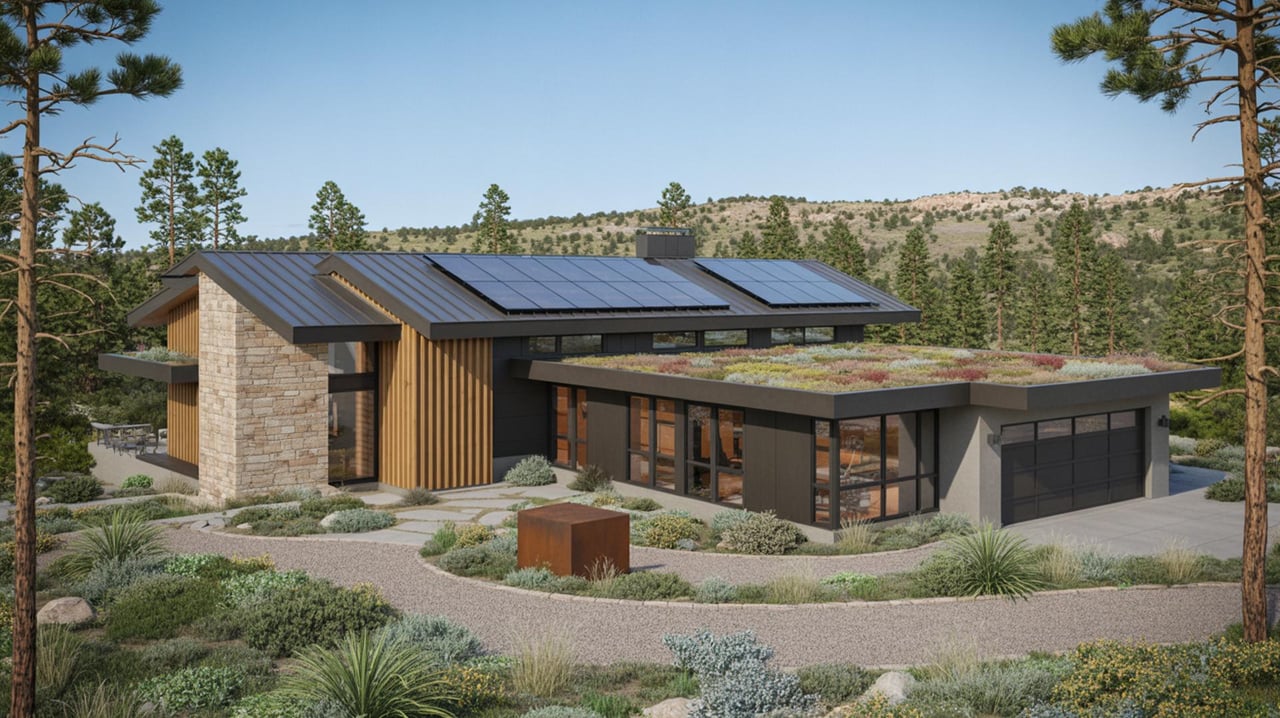
Buyers come to the foothills for panoramic views, privacy, indoor–outdoor living, and access to trails and open space. Many homes sit on steep or wooded lots with decks, terraces, and long driveways, so your staging should make these features feel inviting and easy to use. Show clear sightlines to the mountains and city lights, while also highlighting safe access and well-cared-for systems. When you spotlight both lifestyle and upkeep, you reduce buyer hesitation and build confidence in your property.
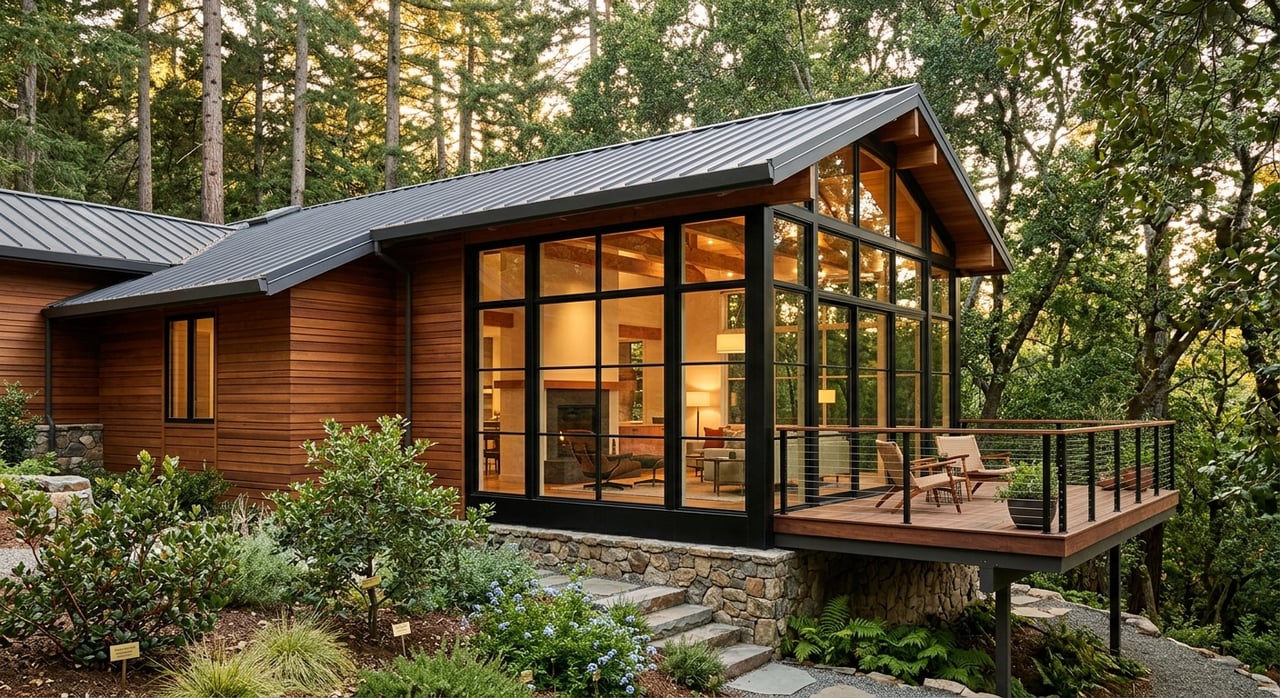
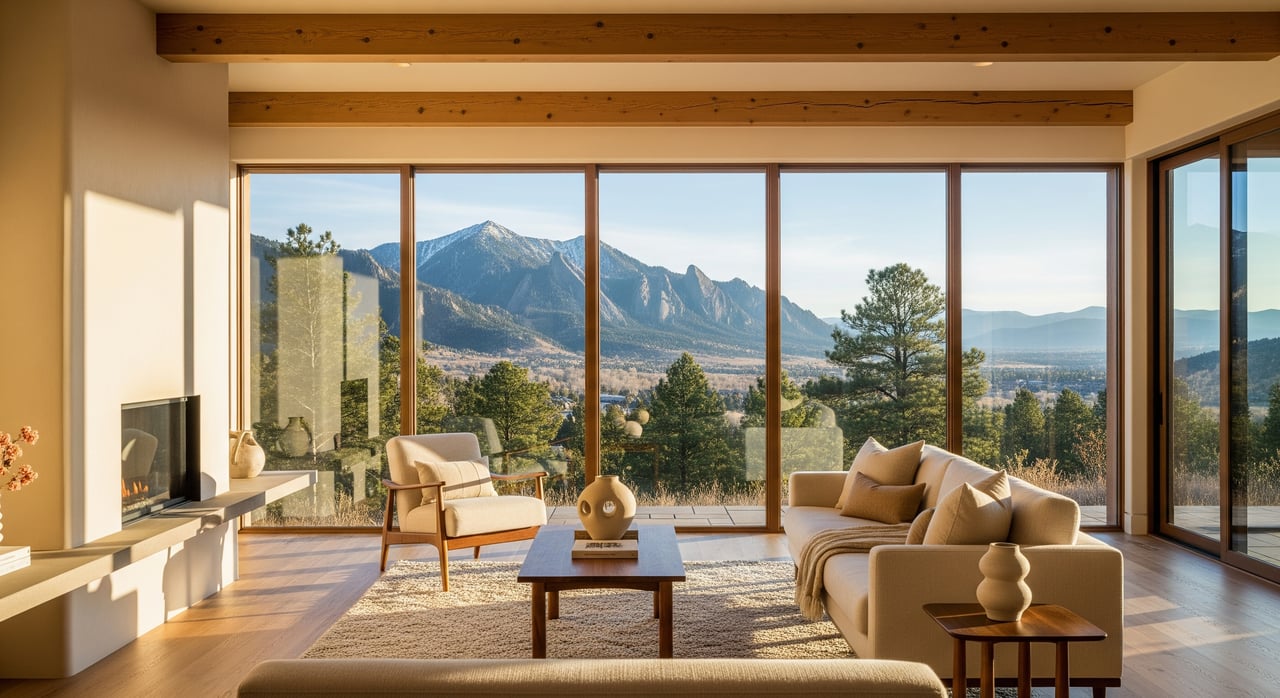
Make the view the hero
Clear the sightlines
Start by trimming vegetation that blocks key vistas. Prune rather than remove trees when you can, and always confirm HOA or county rules before major exterior changes. Indoors, remove heavy drapes and bulky decor that crowds windows. Keep surfaces near windows minimal so the eye moves straight to the view.
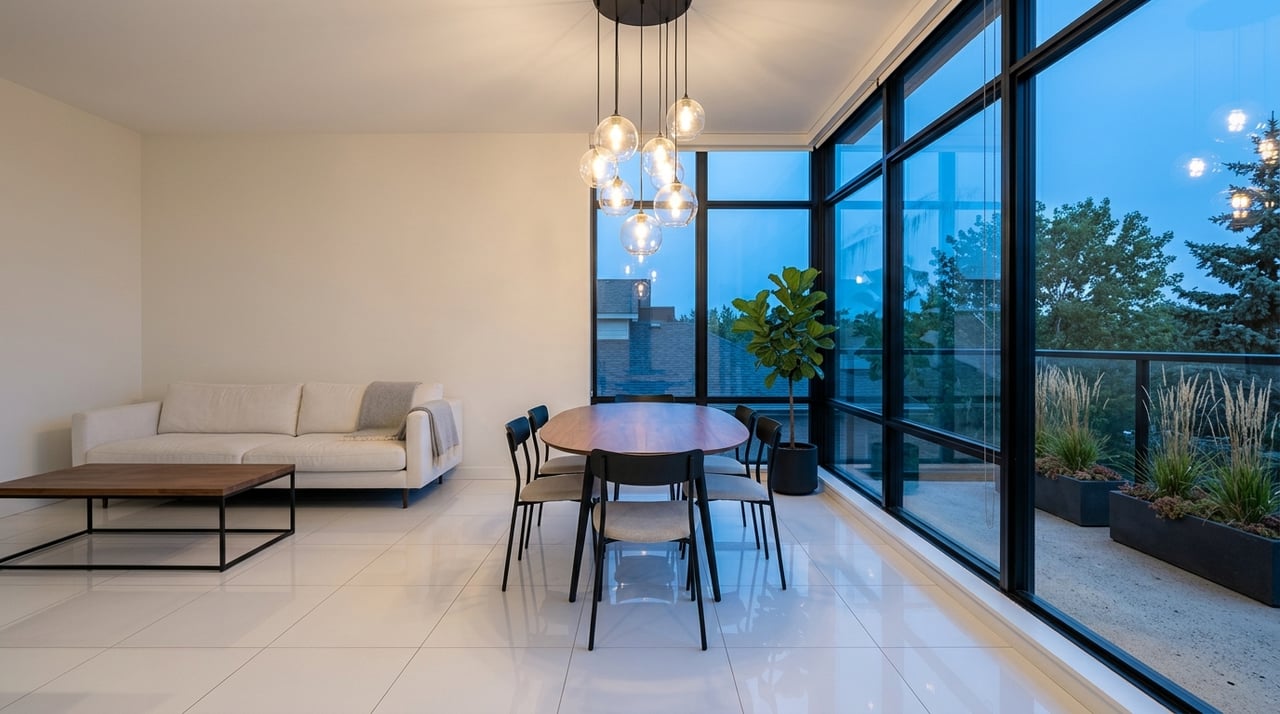
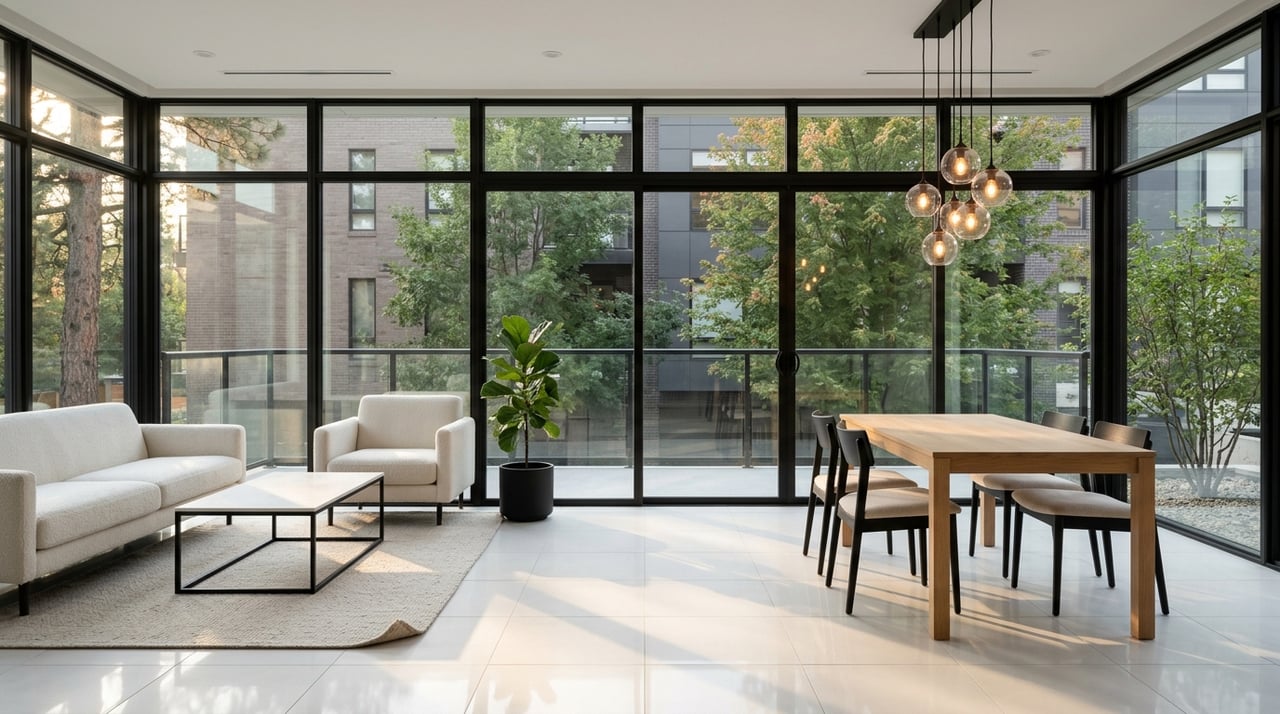
Place furniture with intent
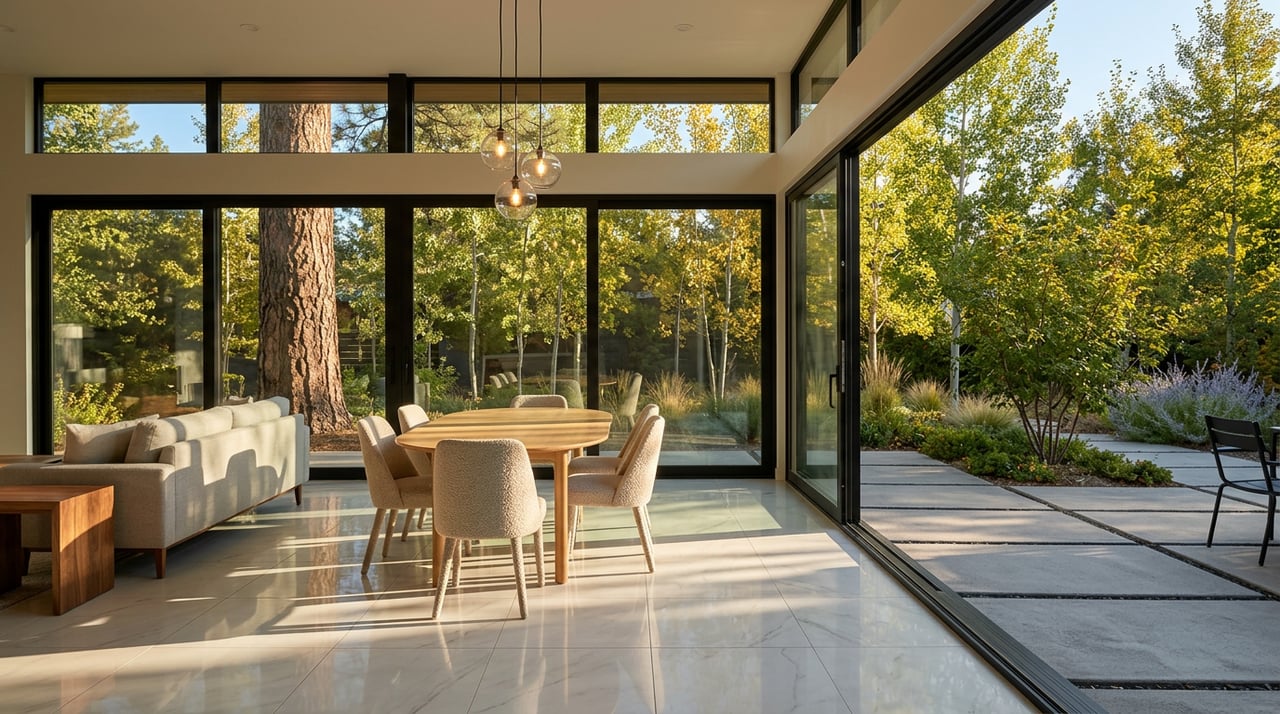
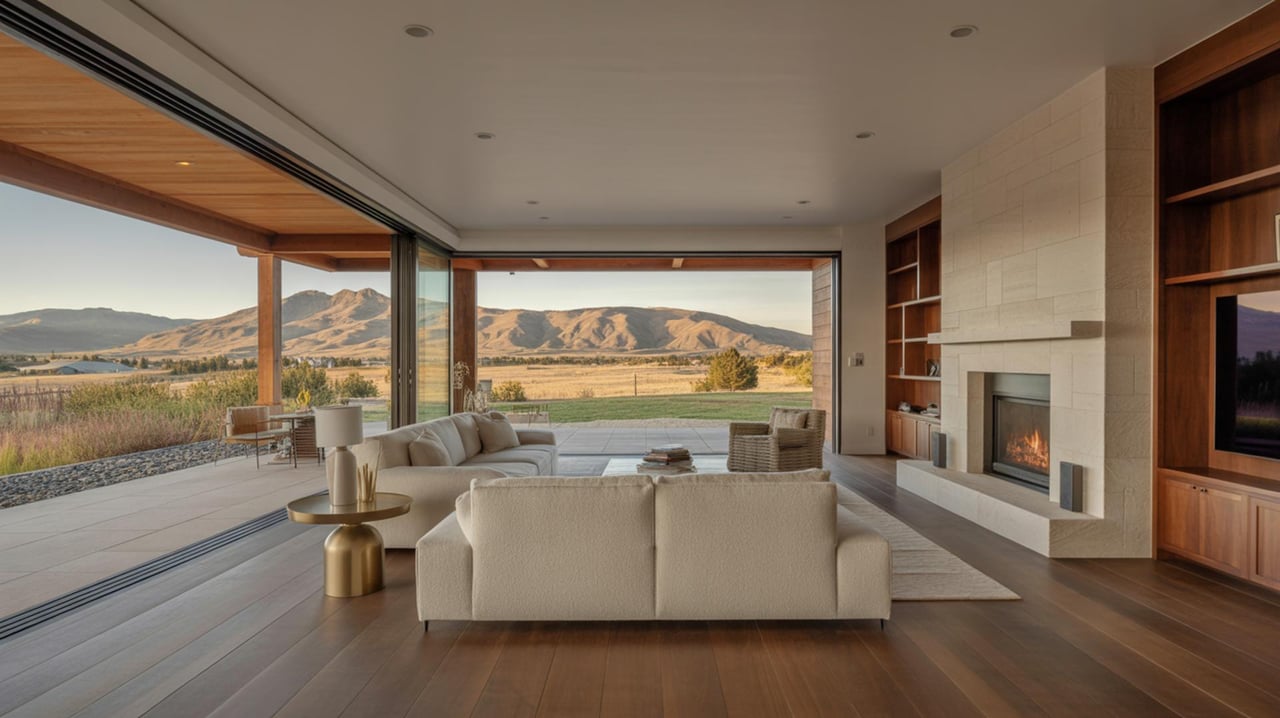
Angle sofas and chairs toward picture windows, not the TV. Create a conversational seating area that leaves a direct path to the glass. In dining areas, orient the table to face the view or stage a small bistro set by the best window. In the primary bedroom, position the bed so you can wake up to the scenery when layout allows.
Simplify window treatments
Use light-filtering shades or sheers to soften glare without hiding the outdoors. If privacy is a concern, layer in retractable blackout options that can stay open during showings. Avoid bold or busy patterns that pull focus away from the landscape.
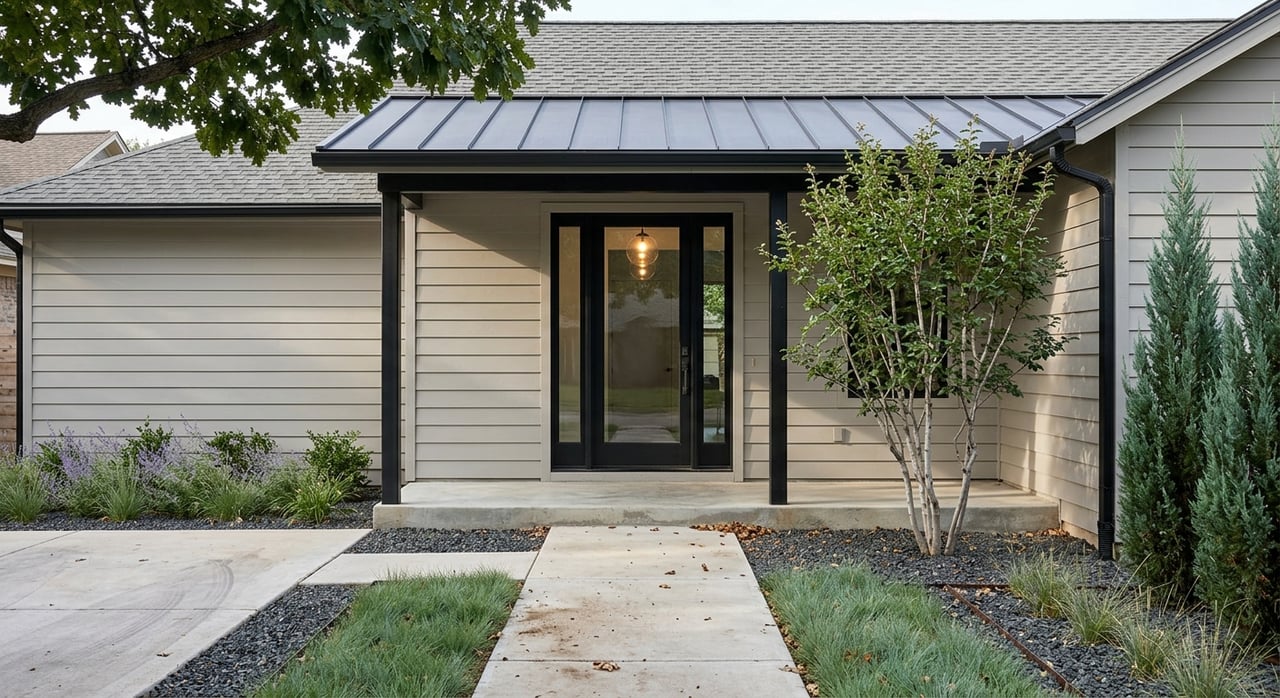
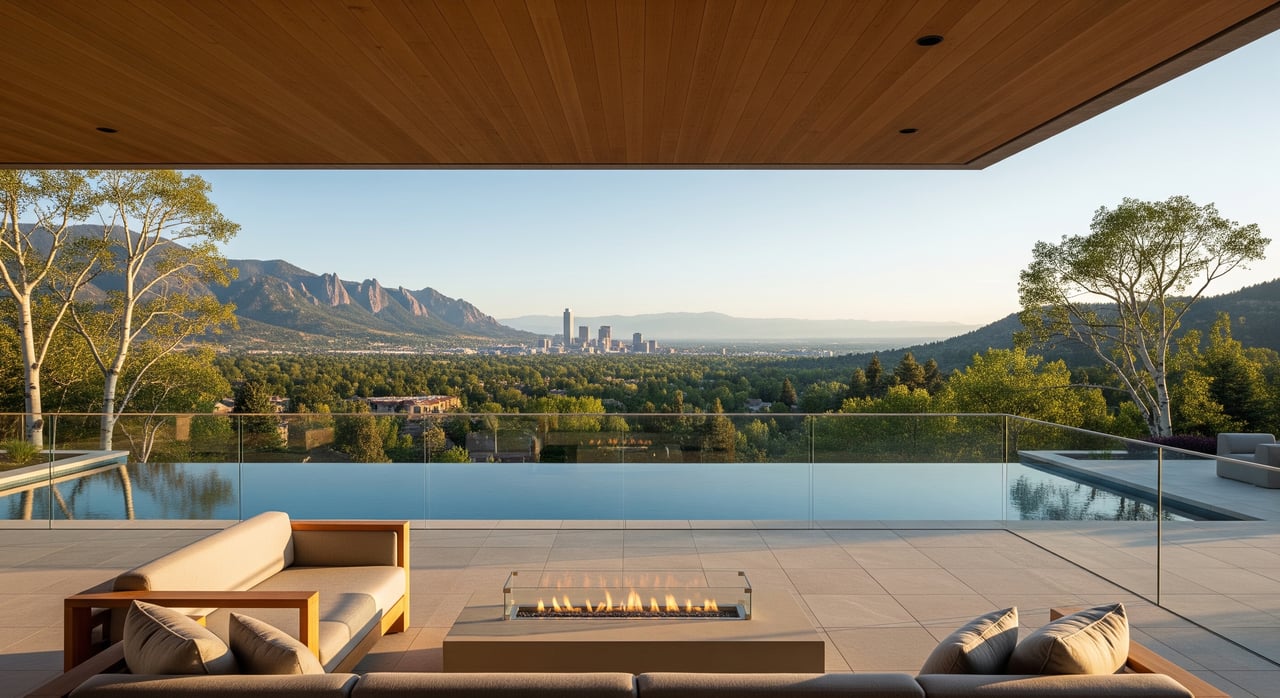
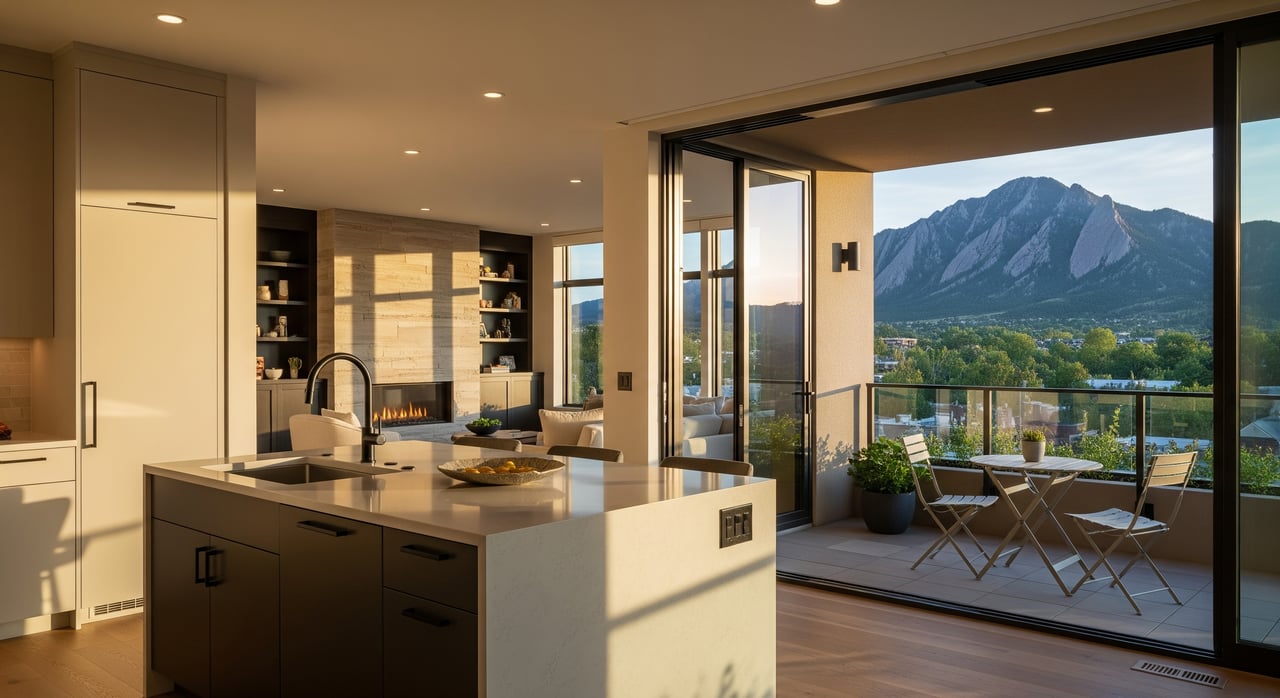
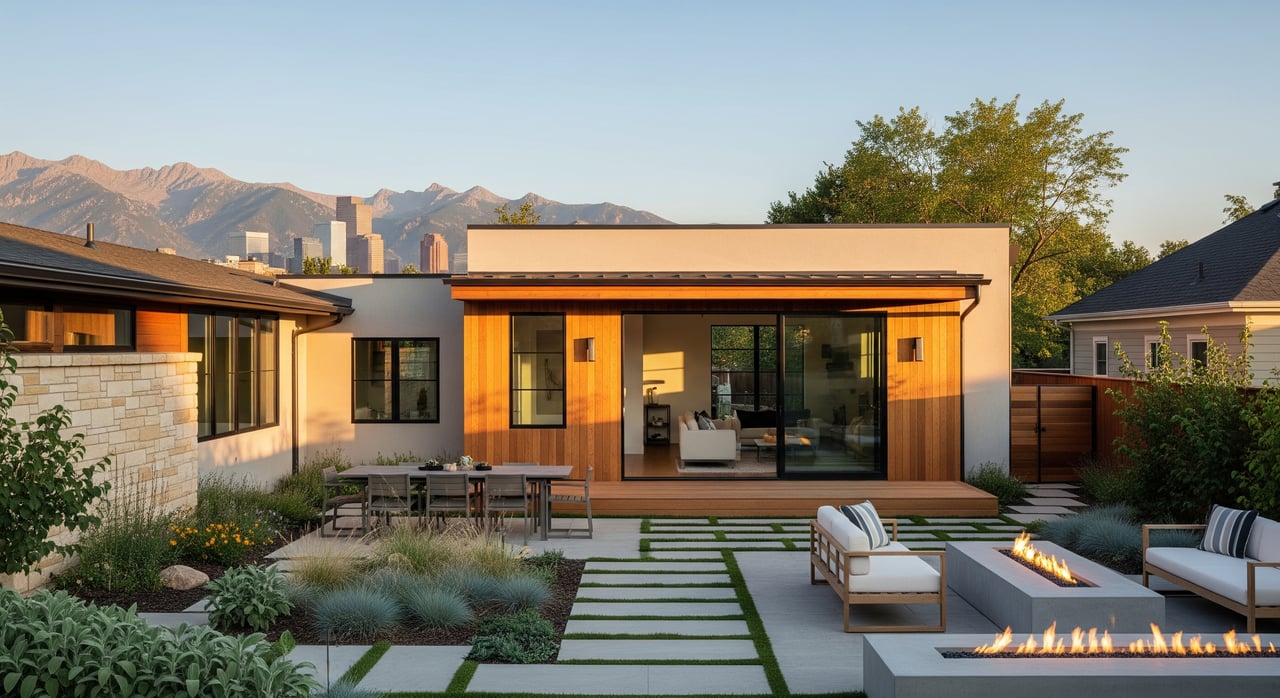
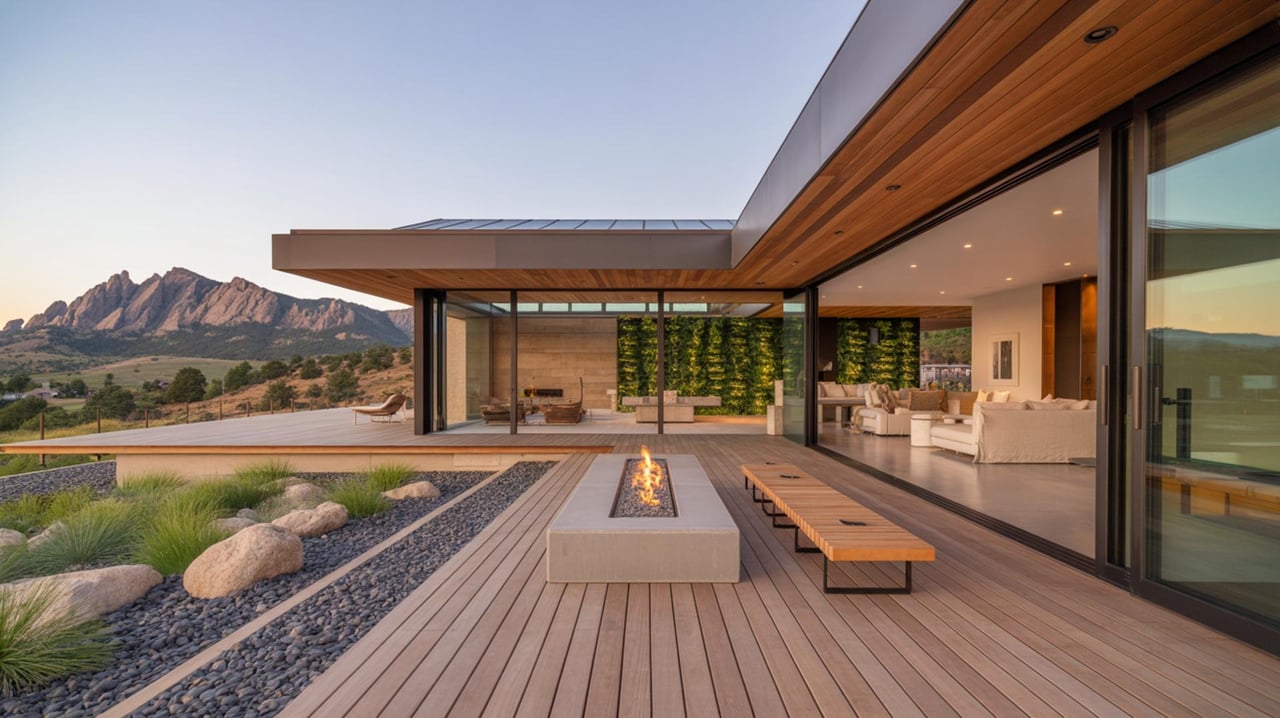
Improve indoor–outdoor flow
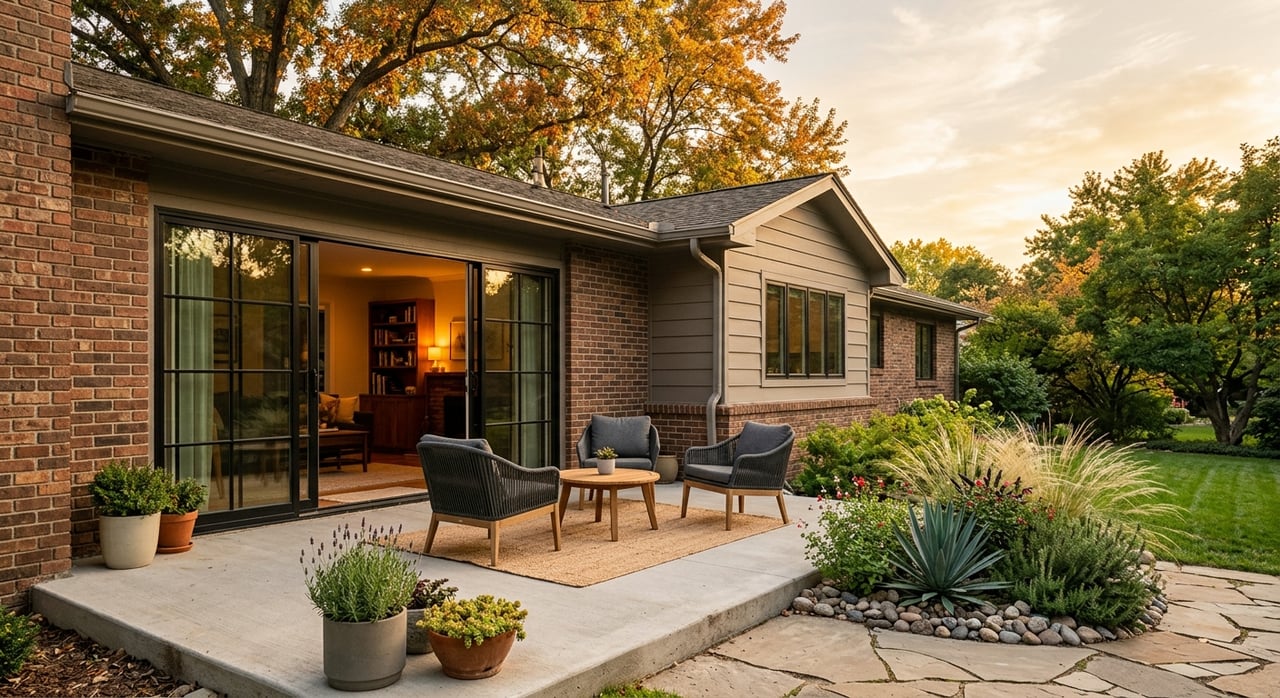
Treat decks and patios as rooms
Stage each outdoor area with scaled furniture so buyers see where they will lounge, dine, and watch sunsets. A two-seater on a small deck or a compact dining set on a terrace shows purpose without crowding. Keep railings and view lines clear. Add a few low-maintenance, non-invasive planters to bring life to the space.
Make access obvious and safe
Clear pathways from main living areas to exterior spaces. Show easy door operation, tidy thresholds, and good lighting. If the kitchen opens to a deck, stage an outdoor dining setup to signal that meals easily move outside.
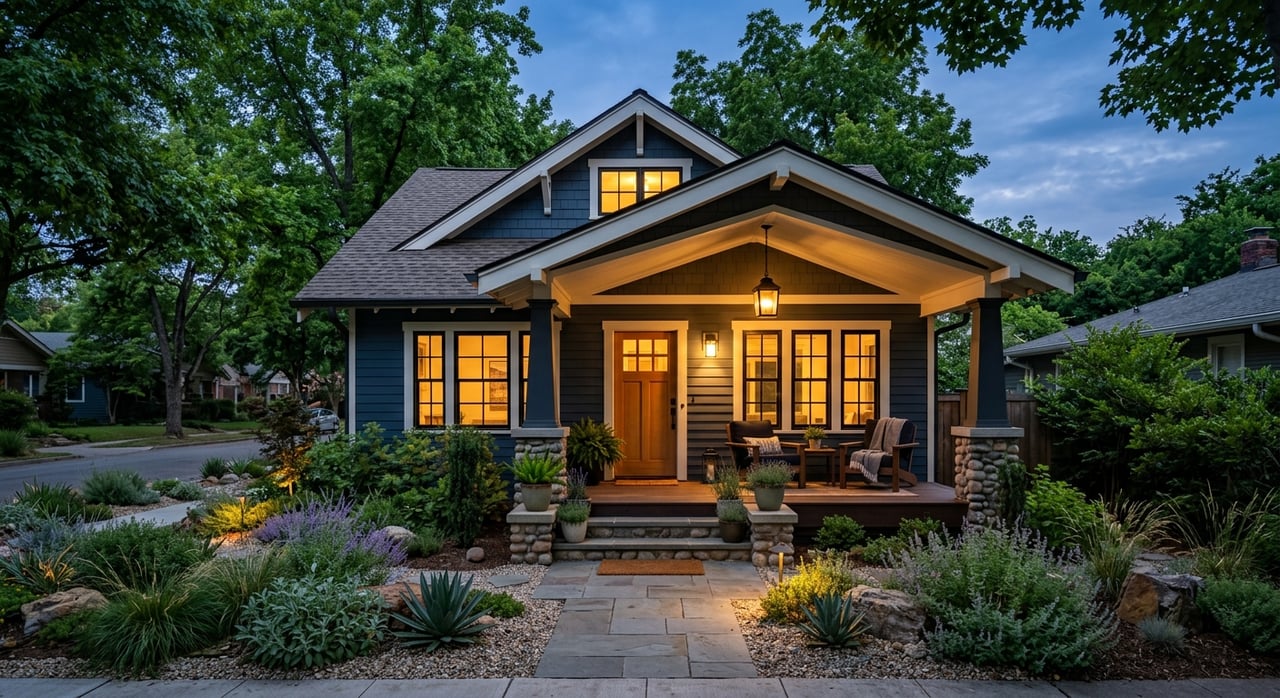
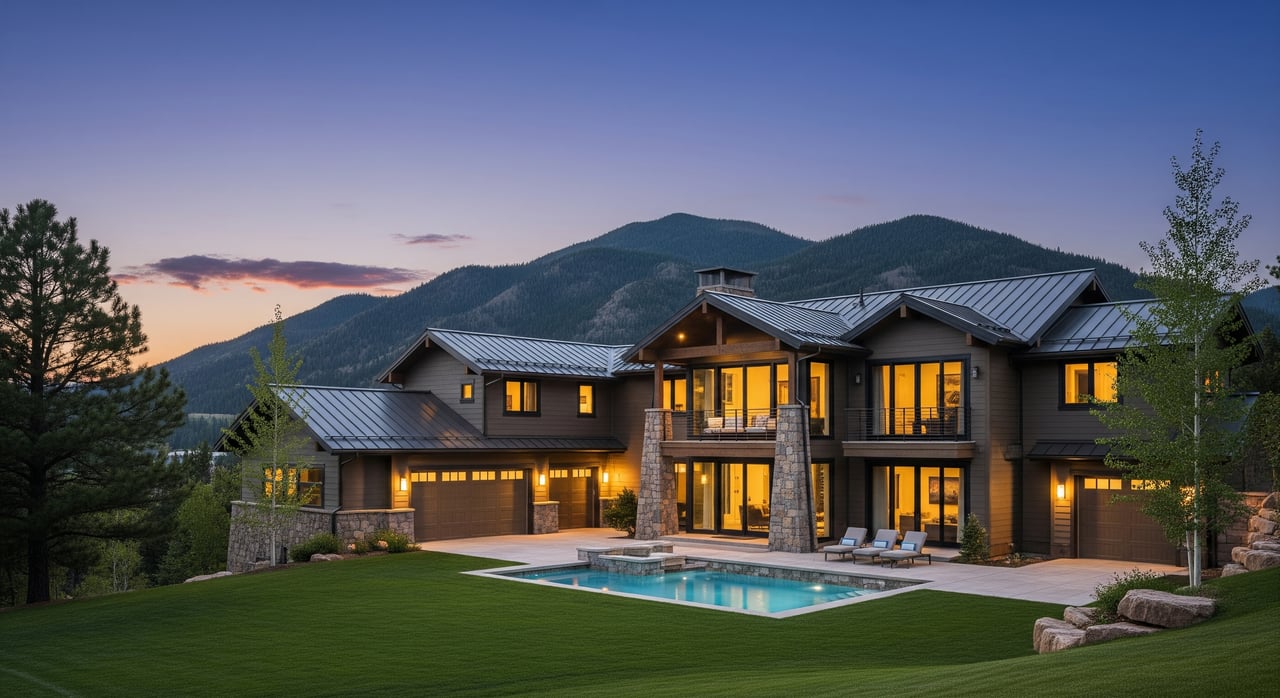
Set evening ambience
Buyers often preview foothill homes at twilight, especially if the view includes city lights. Use tasteful exterior lighting to make steps, pathways, and railings visible and inviting. If you stage a fire feature, ensure it’s permitted and safe, and keep any staging use factual and compliant with local guidelines.
Choose scale, color, and texture for mountain style
Select a neutral palette that complements wood, stone, and natural finishes. Layer textures like linen, wool, and leather to add warmth without visual clutter. Keep accessories restrained and avoid bright, competing colors that distract from the windows. The landscape should remain the focal point in every view-facing room.
Room-by-room staging checklist
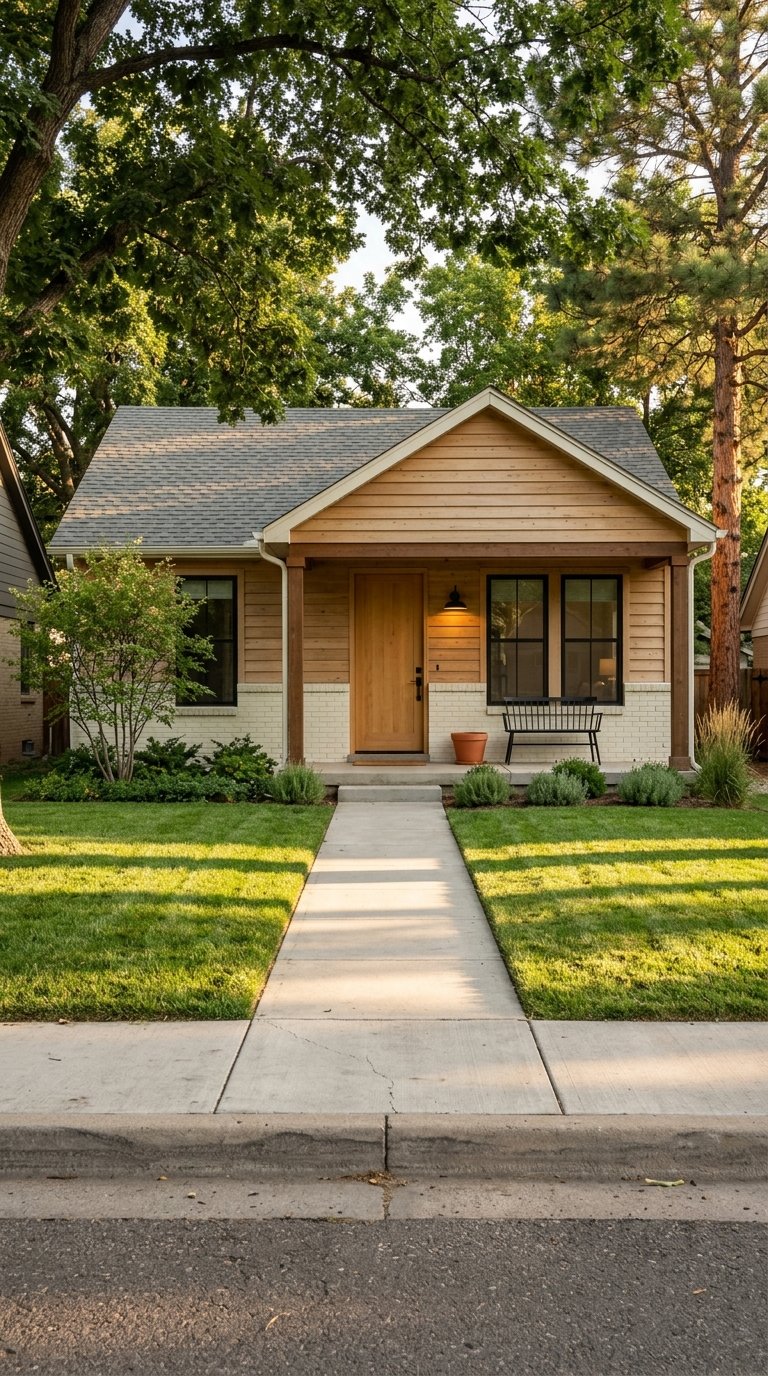
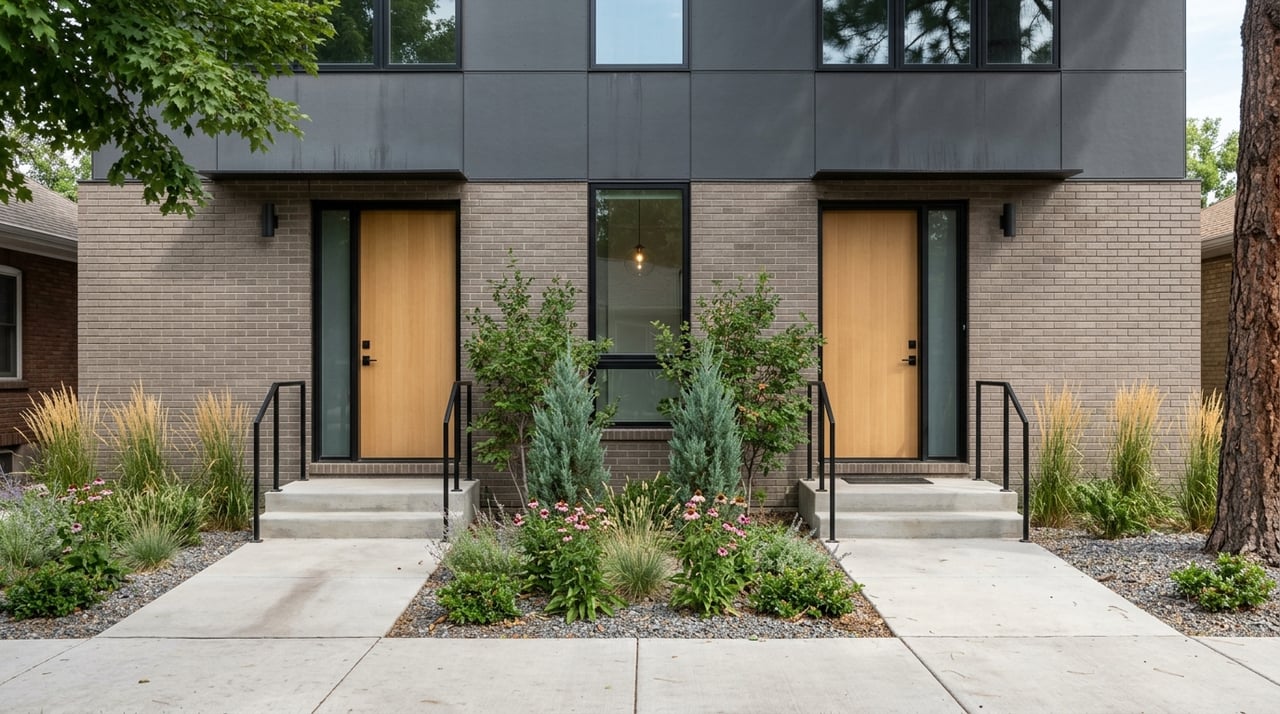
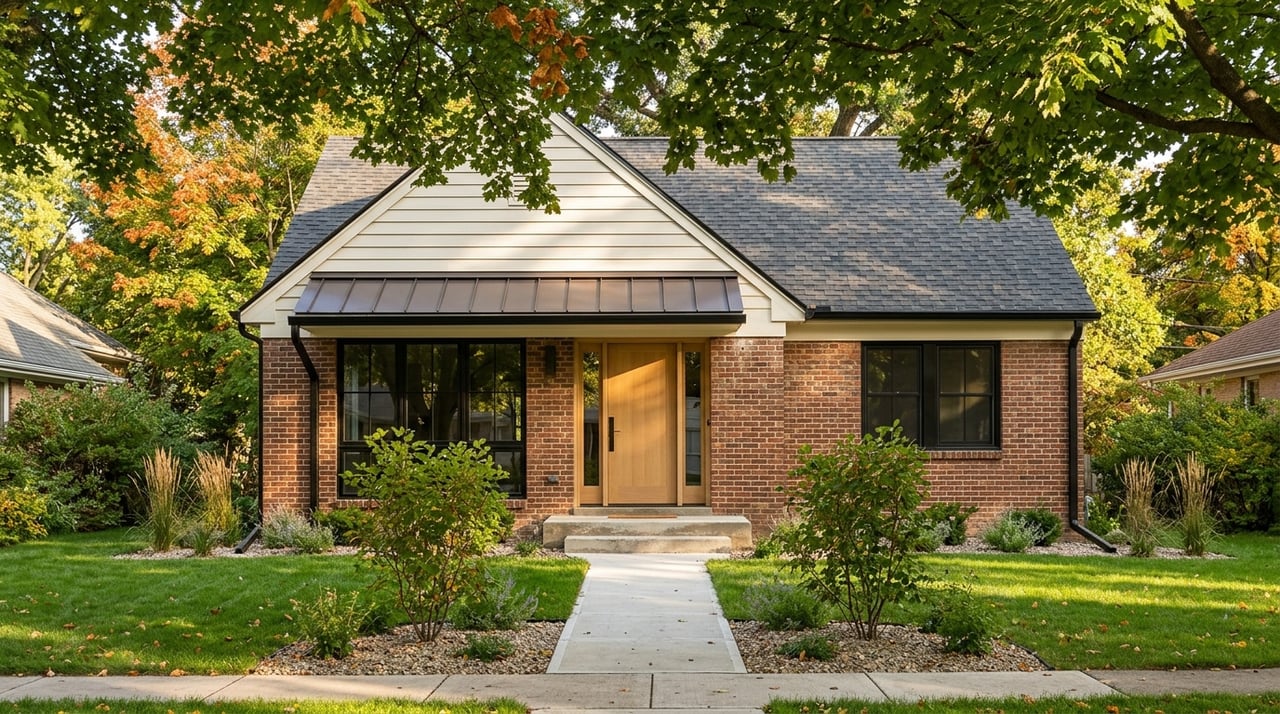
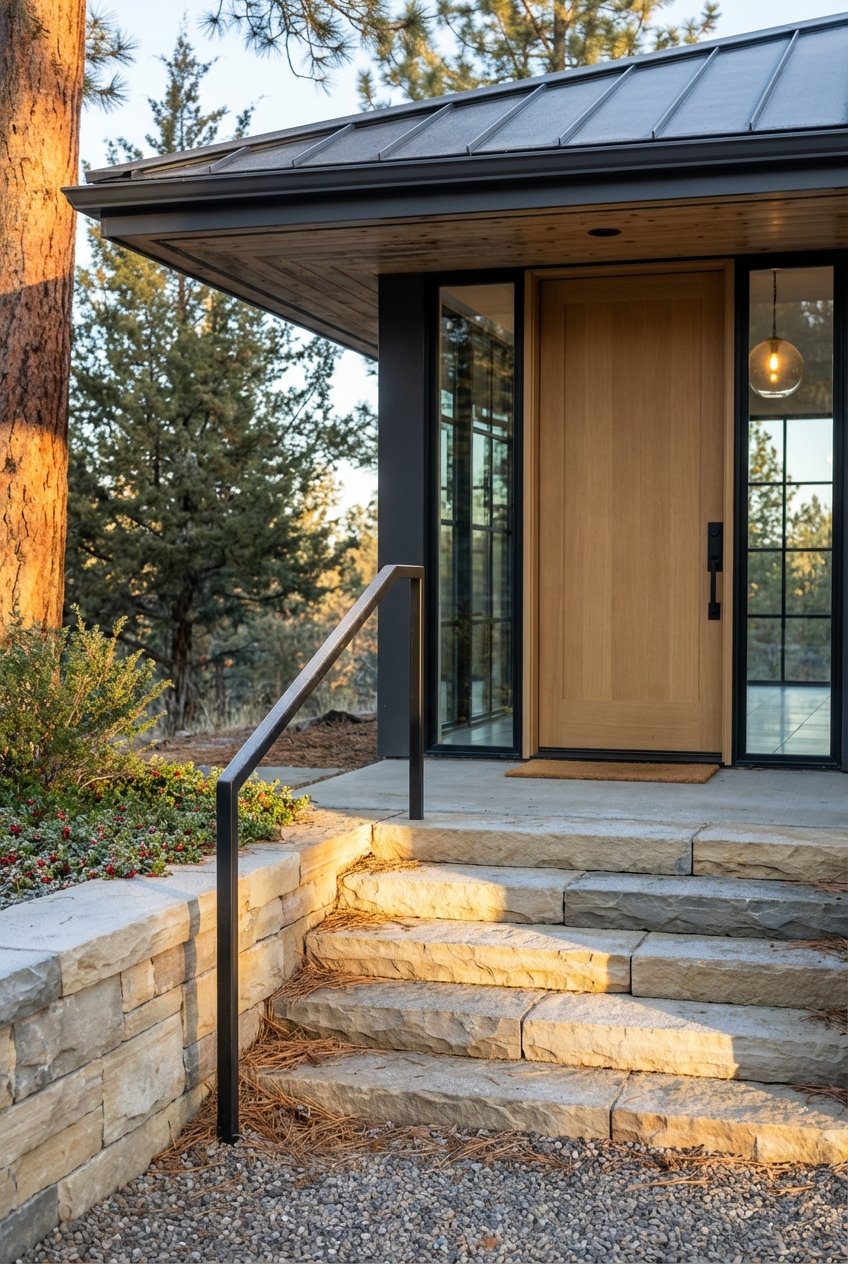
Entry and curb appeal
- Clear and unobstructed path to the front door; remove clutter and debris.
- Trim vegetation that blocks views or signage; confirm rules before major pruning.
- Refresh the door and hardware; add a simple doormat and modest seasonal accent.
- Check handrails, steps, and lighting for safety, especially in the evening.
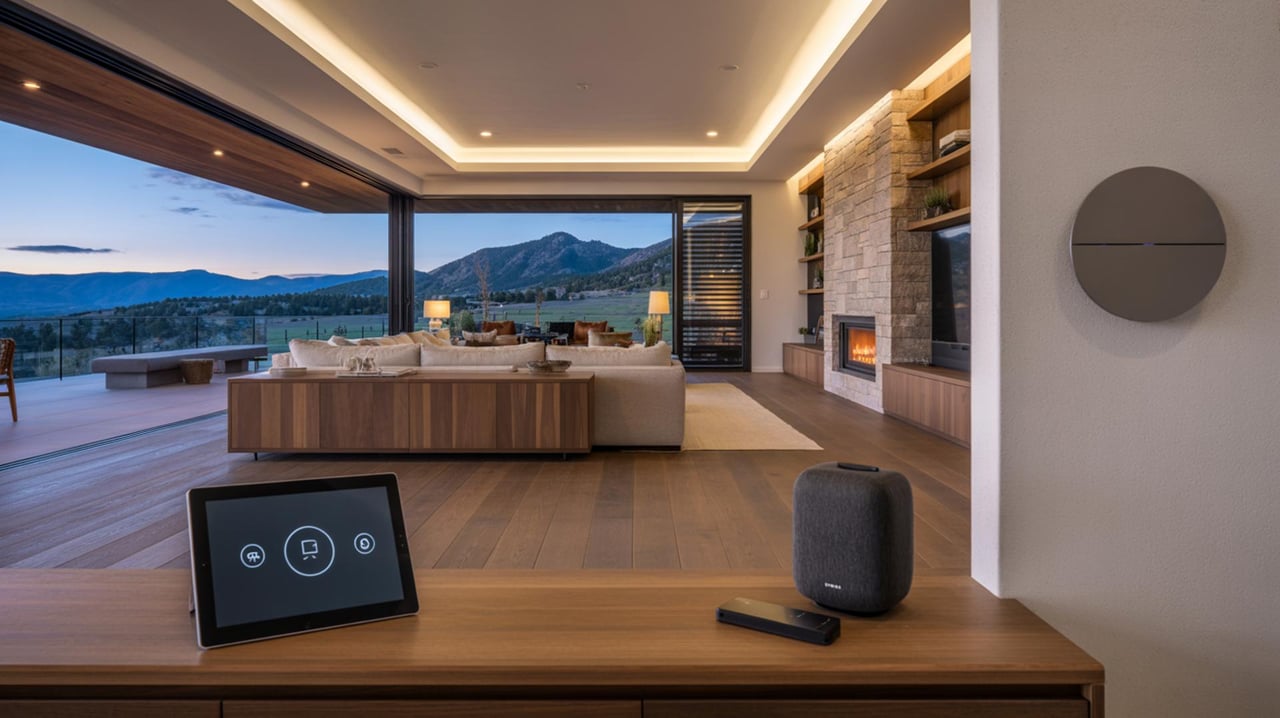
Living room or great room
- Arrange seating toward the view while maintaining a comfortable conversation area.
- Remove heavy drapes; install light-filtering shades if needed.
- Use an area rug to define the space and soft, layered lighting for warmth.
- Keep surfaces minimal so windows read as the feature wall.
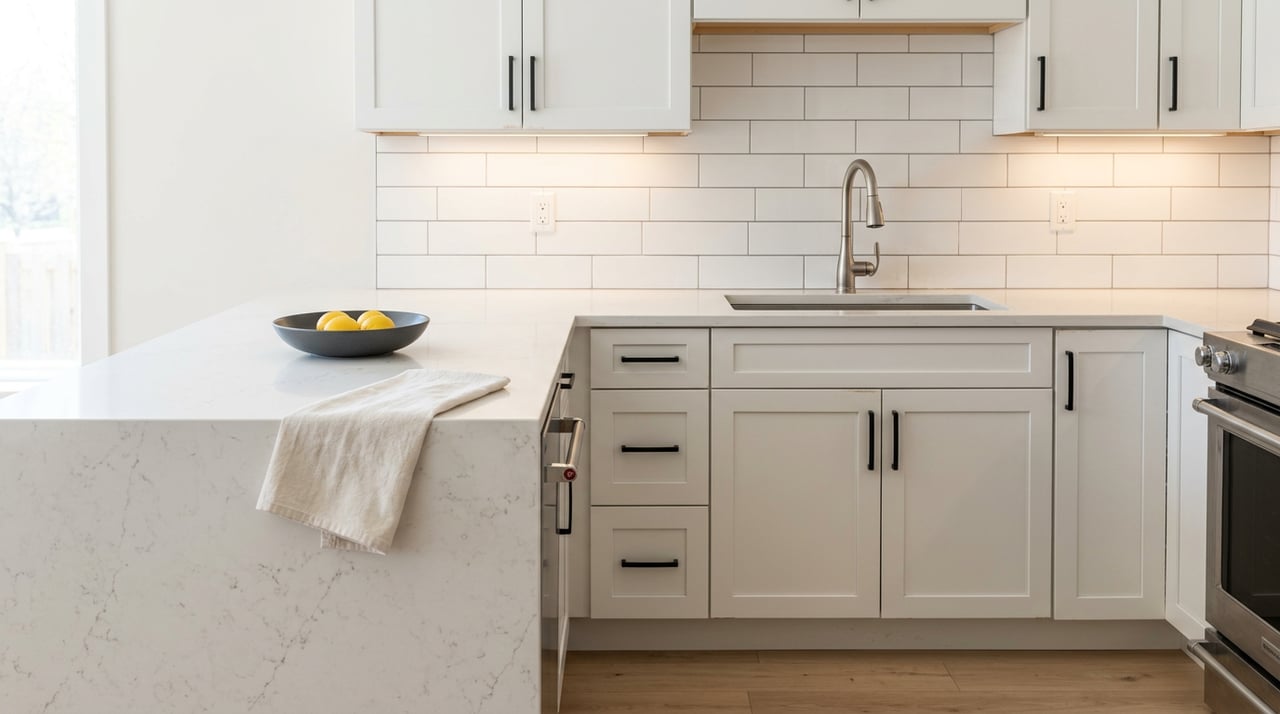
Dining room and kitchen
-
Orient the dining table to the view or place a small cafe table near a window.
-
Declutter countertops; one bowl of fruit or a simple vase is enough.
-
If there’s a deck nearby, stage a clear transition to outdoor dining.
Primary bedroom
- Position the bed to enjoy the scenery if layout allows.
- Use neutral bedding and minimal decor to keep the room airy.
- Layer window treatments for both privacy and daylight views.
Secondary bedrooms and home office
- Show flexibility: guest room, office, or exercise space.
- For an office, place the desk to enjoy natural light without strong backlighting.
- Keep furnishings light to make rooms feel larger and view-forward.
Bathrooms
- Clear counters; use fresh towels in neutral tones.
- If a tub has a view, stage it with simple spa accents and confirm safety features are functional.
Basements, storage, and utilities
- Clean and organize to show usable space and easy maintenance.
- Place documentation for systems in a visible binder: furnace, water heater, septic or well, roof reports, permits, and service logs.
- If there’s potential for finishing, stage a small seating or workout nook to spark ideas.
Seasonal strategies and safety
Winter
- Shovel and de-ice driveways, steps, and walkways before every showing.
- Stage warm, cozy interiors with layered textiles and soft lighting.
- Capture twilight photos that show glowing windows and, if applicable, city lights.
Summer
- Highlight shaded seating and simple, drought-tolerant planters.
- Ensure screens and doors operate smoothly for indoor-outdoor traffic.
- Keep railings, surfaces, and furniture clean for easy use.
Spring and fall
- Showcase seasonal color with light yard refreshes and pruned perennials.
- Emphasize access to nearby open space and trail connections.
- Maintain clear, safe pathways as weather shifts.
Structural and access safety
- Confirm railings, stair treads, and exterior lights are secure and functional.
- For steep driveways, show traction surfaces and note snow removal practices.
- Keep signage clear and visible so guests can find the entry easily.
Wildfire readiness buyers notice
Show visible defensible space by clearing vegetation within an appropriate distance of structures and trimming lower branches. Use non-combustible materials like gravel near the foundation where practical. Avoid claims like “fireproof.” Instead, present what buyers can see: metal gutters, spark screens on chimneys, and clean zones around the home. Provide records of recent mitigation or inspections to help buyers understand ongoing care.
Photography and marketing that sell the view
Build a shot list
- Lead with your strongest view image from the main living area.
- Include a wide shot of the great room looking out to the landscape.
- Add at least one twilight exterior showing warm lighting and, if relevant, city lights.
- Use wide-angle lenses carefully to avoid distortion. Consider an elevated or aerial shot, when allowed, to show the home’s relationship to ridgelines and valleys.
Order and captions for MLS
Put the most compelling view images first and keep captions factual. Use orientation and time-of-day notes rather than superlatives. Sample, fact-based captions include:
- “West-facing deck with sunset views.”
- “Great room framing Flatirons ridgeline.”
- “Primary bedroom with morning light and foothill outlook.”
Avoid exaggerated claims. Accurate, clear descriptions help buyers connect the photos to what they will experience in person.
Virtual tours and floor plans
Offer a walkthrough that moves from interior spaces toward windows and out to decks, mimicking how buyers will explore the home. Provide a floor plan that marks major sightlines so viewers understand where the best views occur.
Showing logistics and peak light
Schedule showings to match your orientation. Late afternoon is ideal for west-facing sunsets. Dawn or early morning captures eastern mountain light. For city-light views, plan twilight showings so buyers see the evening ambience.
Prioritized prep checklist
- Declutter view-facing rooms and remove heavy window coverings.
- Trim vegetation that blocks sightlines; confirm HOA or county rules before major work.
- Arrange furniture to face the windows and clear paths to decks and patios.
- Stage decks and terraces with scaled seating and good lighting.
- Tackle seasonal curb care and verify safe access, railings, and steps.
- Document maintenance and wildfire mitigation in a simple, visible binder.
- Book professional photography with at least one twilight session and a carefully composed view shot.
Where to invest for ROI
Start with high-impact, lower-cost steps: deep decluttering, neutral paint where needed, removing heavy drapes, and professional photography. Targeted staging in the great room, primary bedroom, and main deck often delivers outsized returns. When budget allows, consider professional staging for complex layouts or premium listings. Replacing dated, bulky window treatments with low-profile shades can sharpen sightlines, and documented fire-mitigation work often eases buyer concerns.
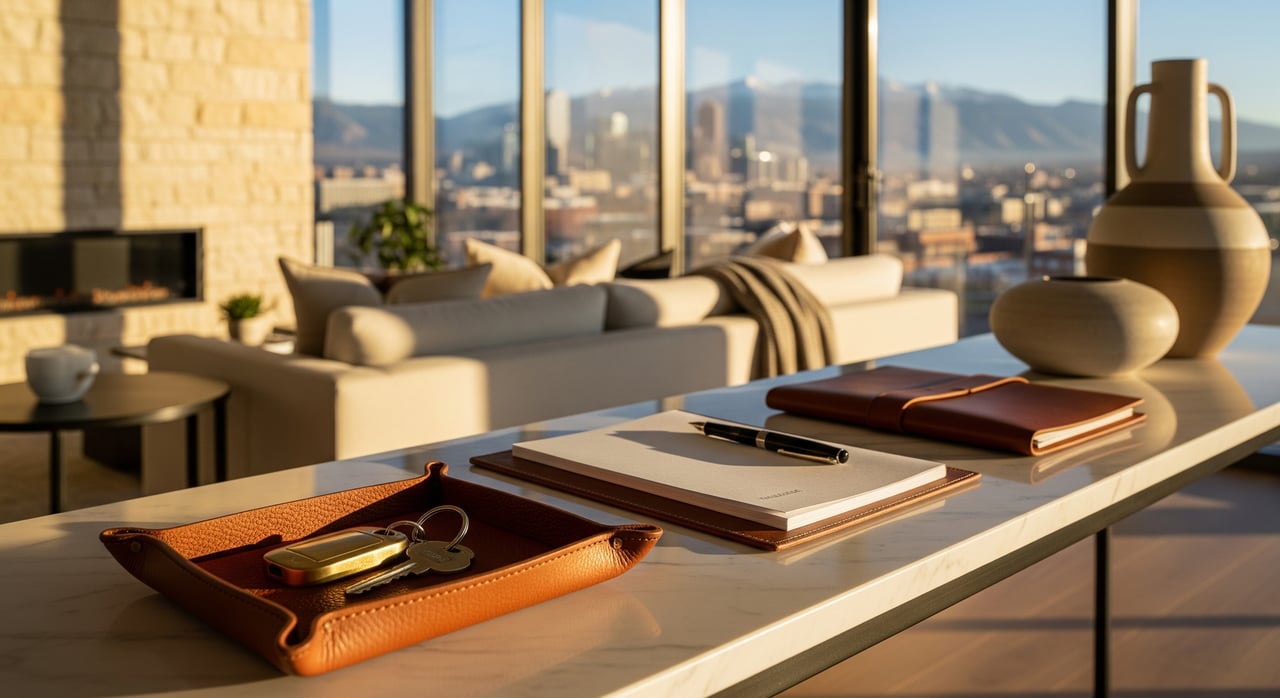
Documentation that builds trust
In foothill markets, buyers want clarity about long-term care and operating costs. Prepare recent roof reports, service logs for mechanicals, septic or well records, and permits for any remodeling. Keep everything neatly organized during showings. This transparency makes your home feel both beautiful and responsibly maintained.
Ready to position your Pine Brook Hill home as a view-forward, well-prepared listing? Let’s align your staging, photography, and marketing around what buyers value most and present a lifestyle they can see themselves living.
Connect with Emelie S Griffith for a tailored plan and a polished, design-driven sale.
FAQs
How do I stage a Pine Brook Hill home to maximize views and privacy?
- Use layered treatments like sheer shades with retractable blackout options and keep plantings low near windows. During showings, open everything so the view is primary, then demonstrate privacy settings.
When is the best time to photograph a Pine Brook Hill view home?
- Late afternoon and twilight work well for west-facing sunsets. For city-light or eastern exposures, dawn or early morning is best. Always include at least one twilight image.
Should I remove trees that block part of the view in Pine Brook Hill?
- Prune before removing and check HOA or county rules first. If you do major tree work, keep permits and invoices on hand to share with buyers.
What staging budget delivers the best return in Pine Brook Hill?
- Prioritize decluttering, view-forward furniture placement, minimal window treatments, and professional photos. Add targeted staging for the great room, primary bedroom, and main deck as budget allows.
How should I present wildfire mitigation to Pine Brook Hill buyers?
- Show visible actions like cleared zones near structures and trimmed branches, and provide records of recent mitigation or inspections. Avoid claims like “fireproof” and stick to documented steps.