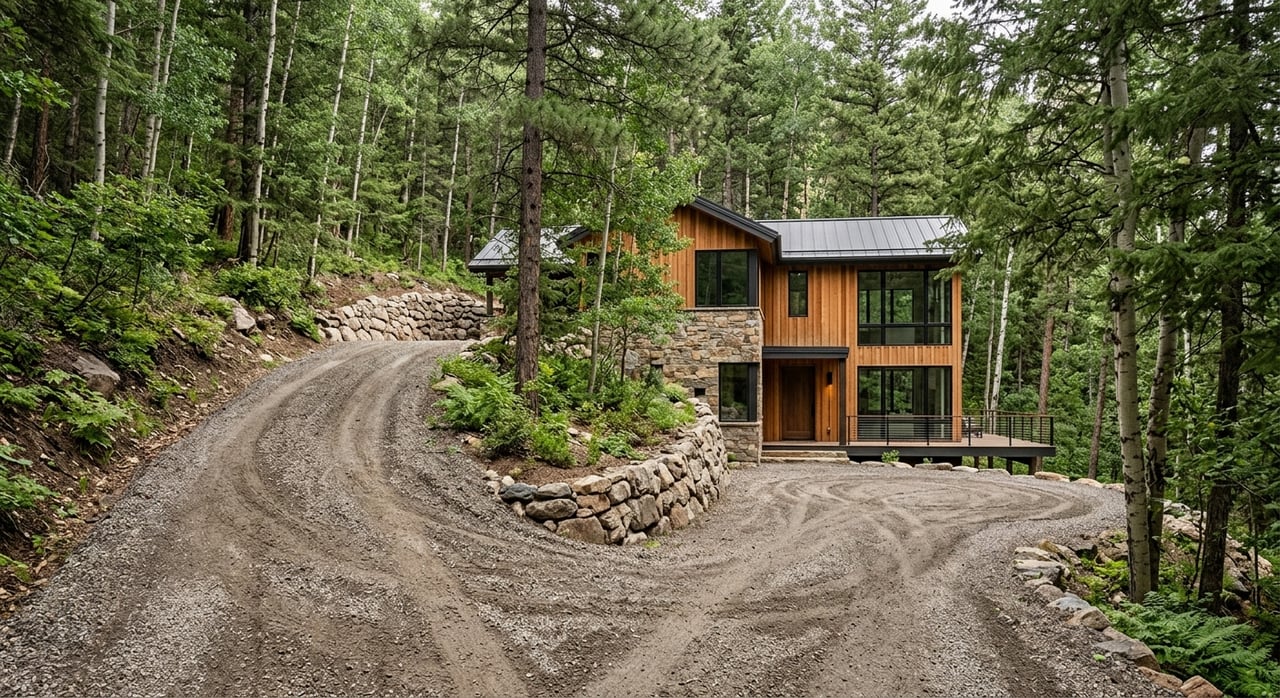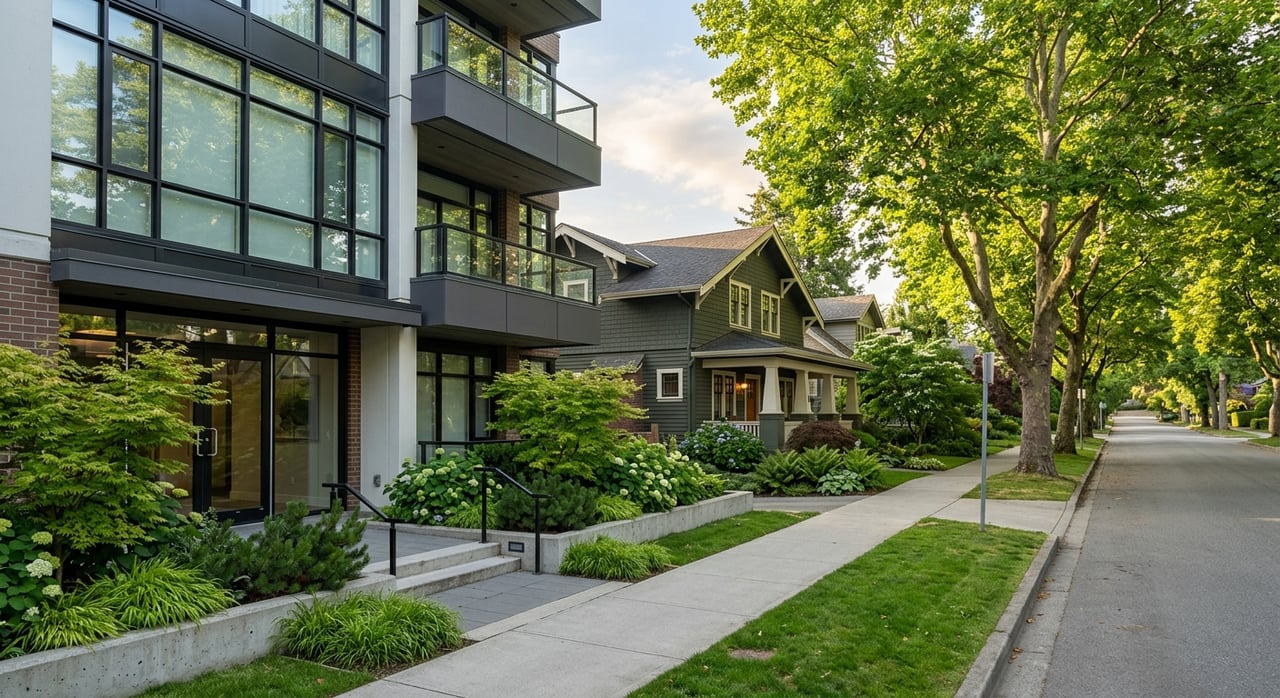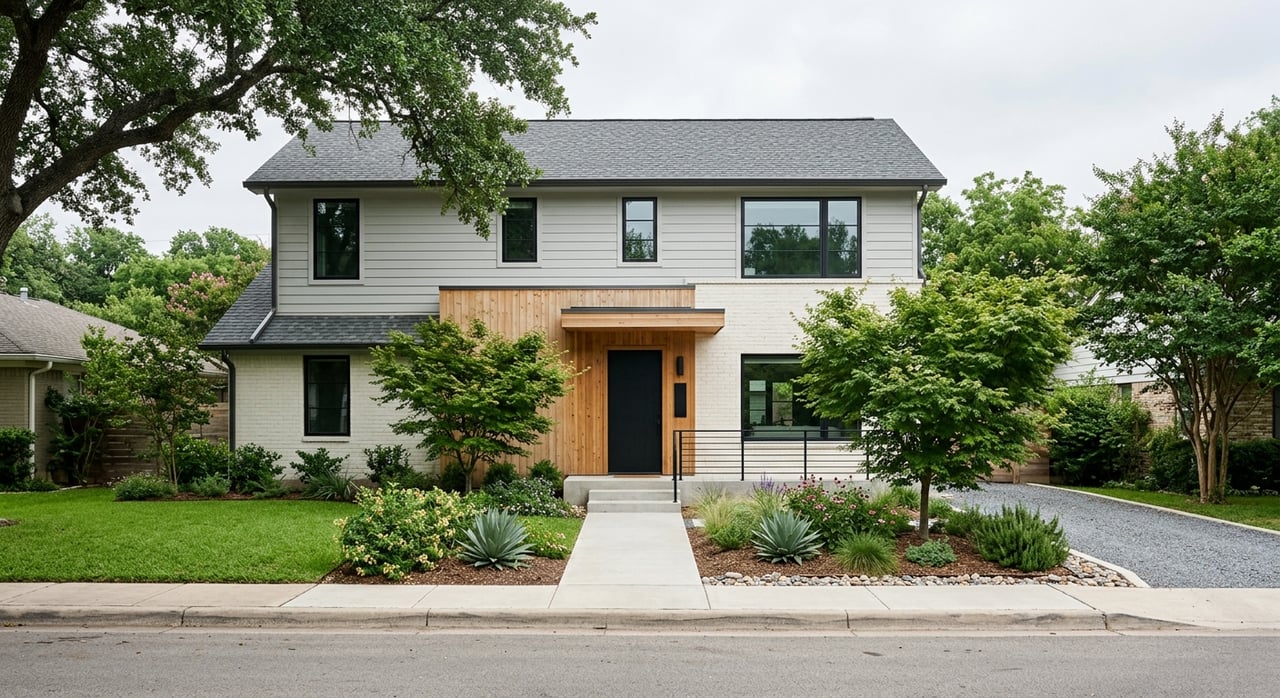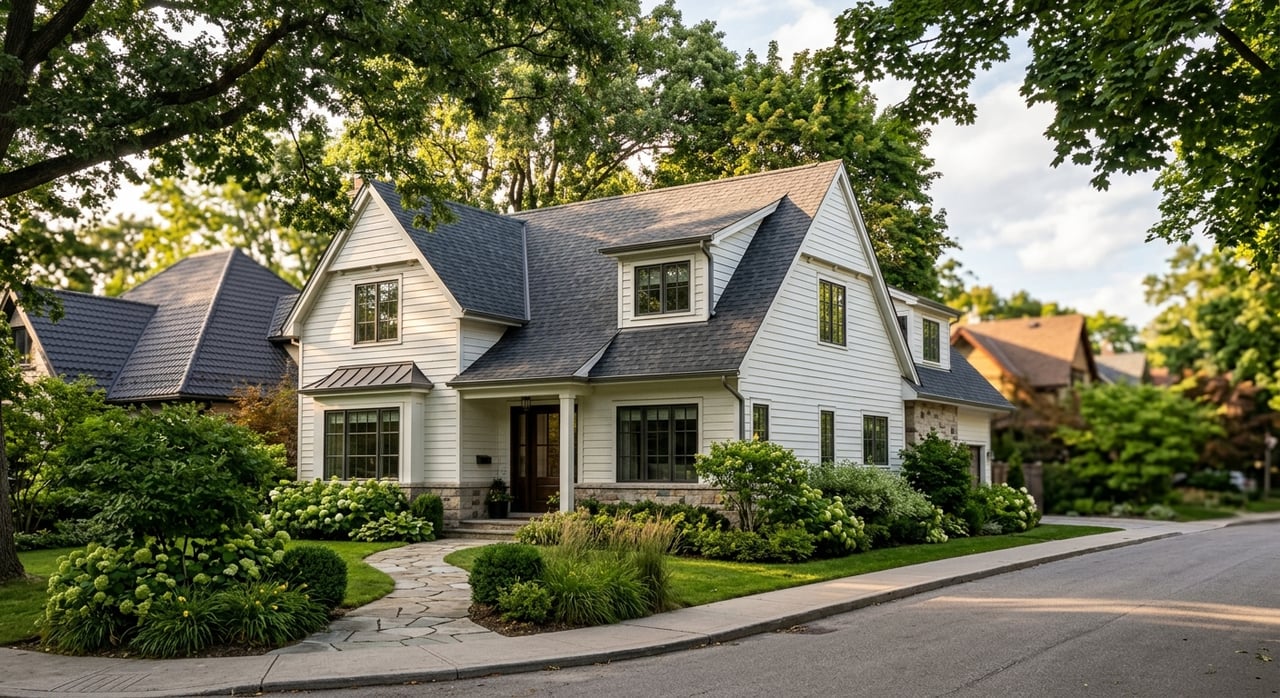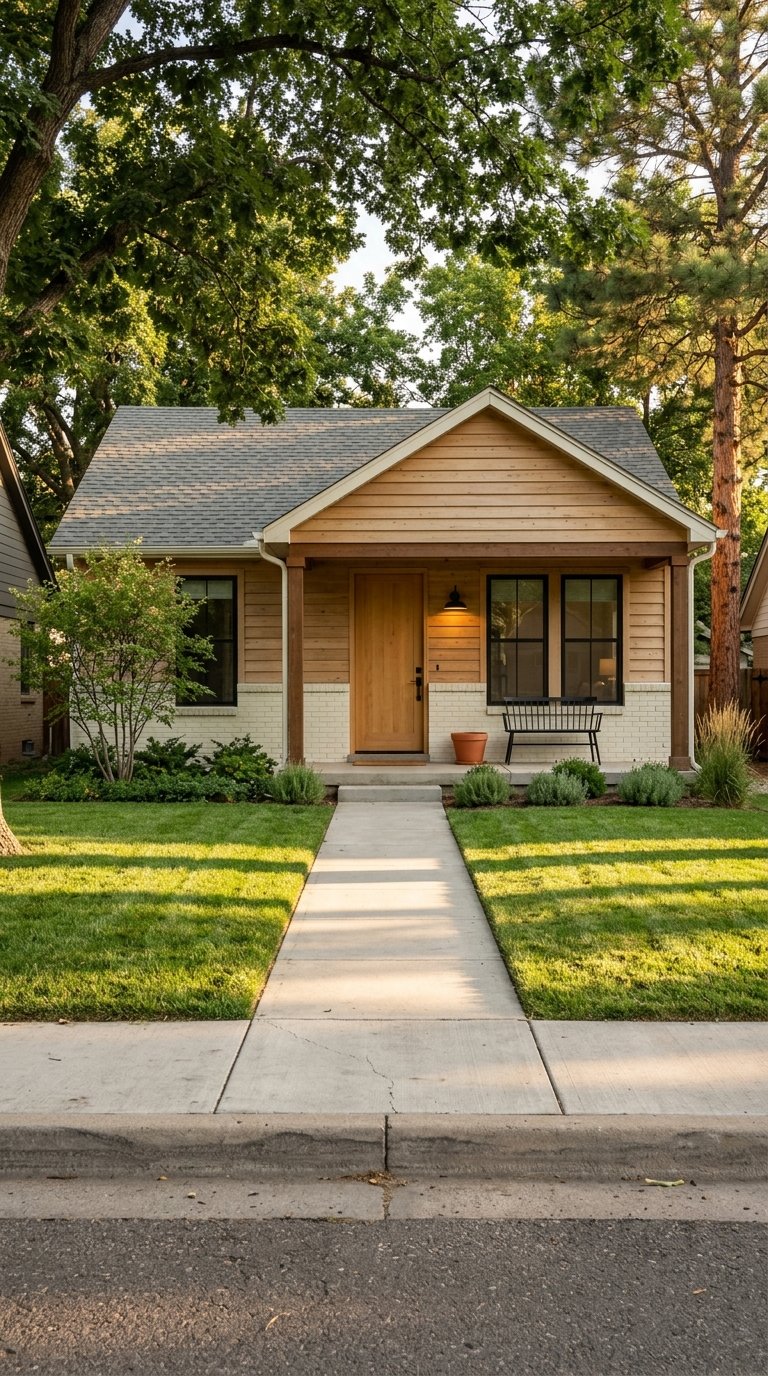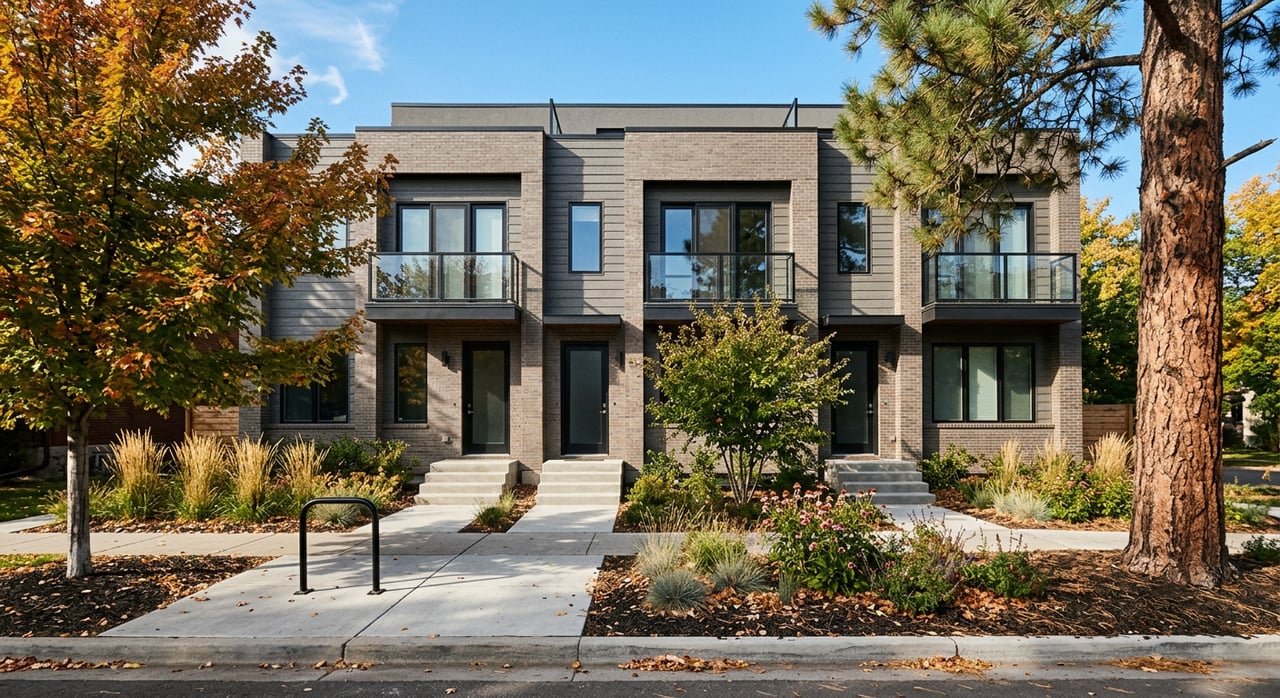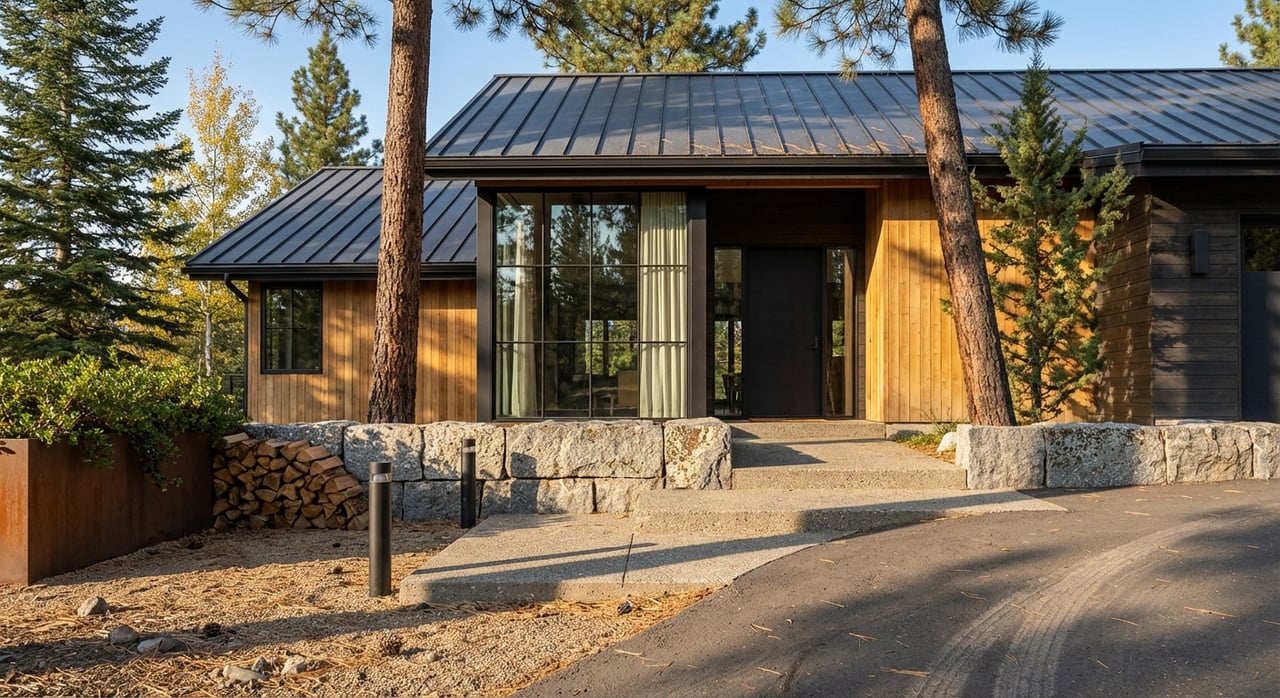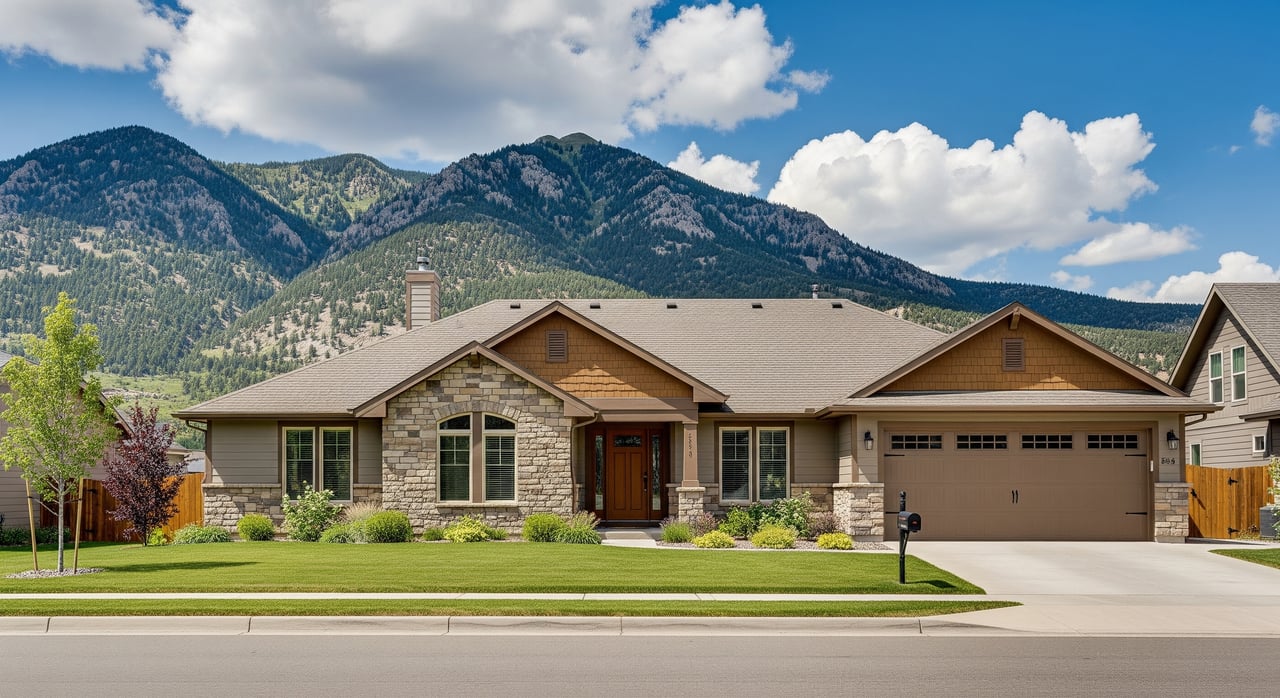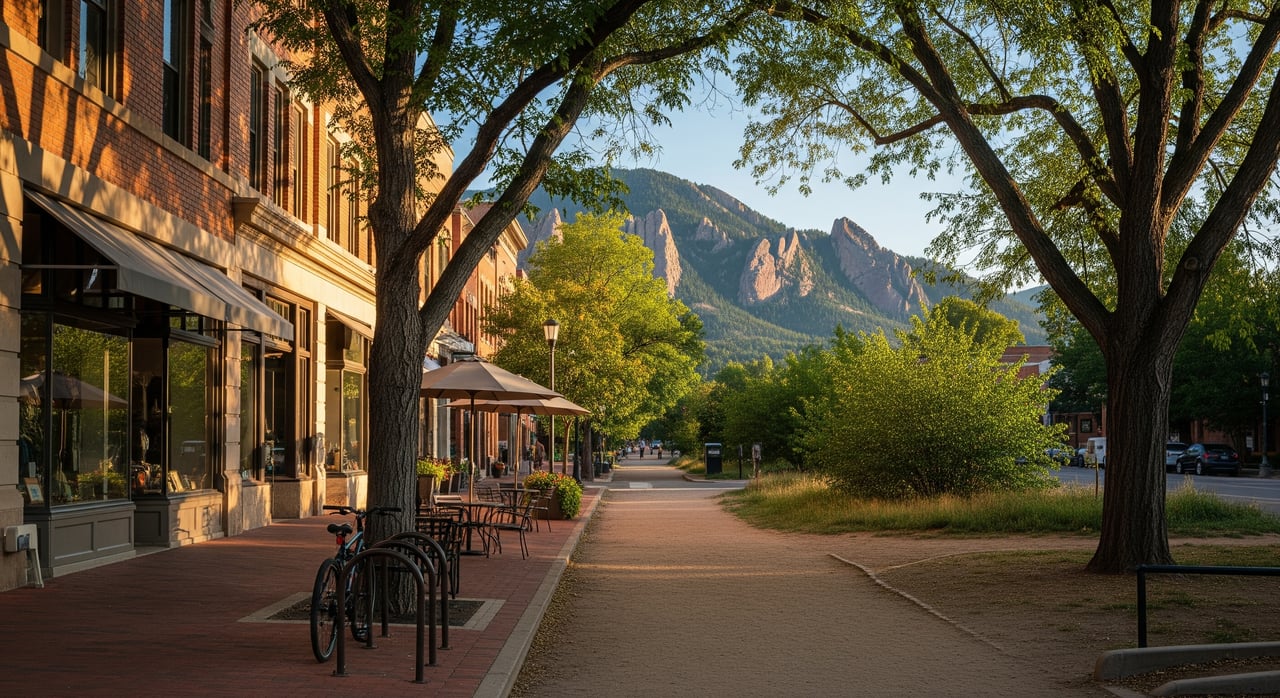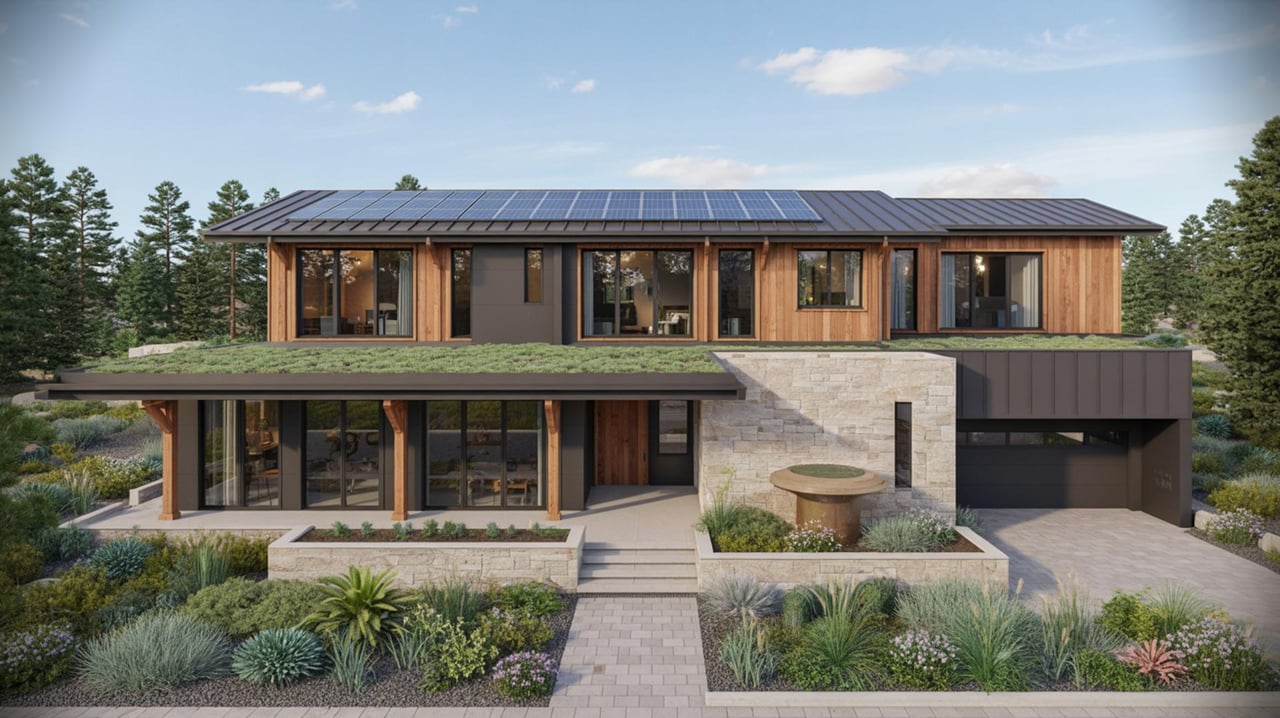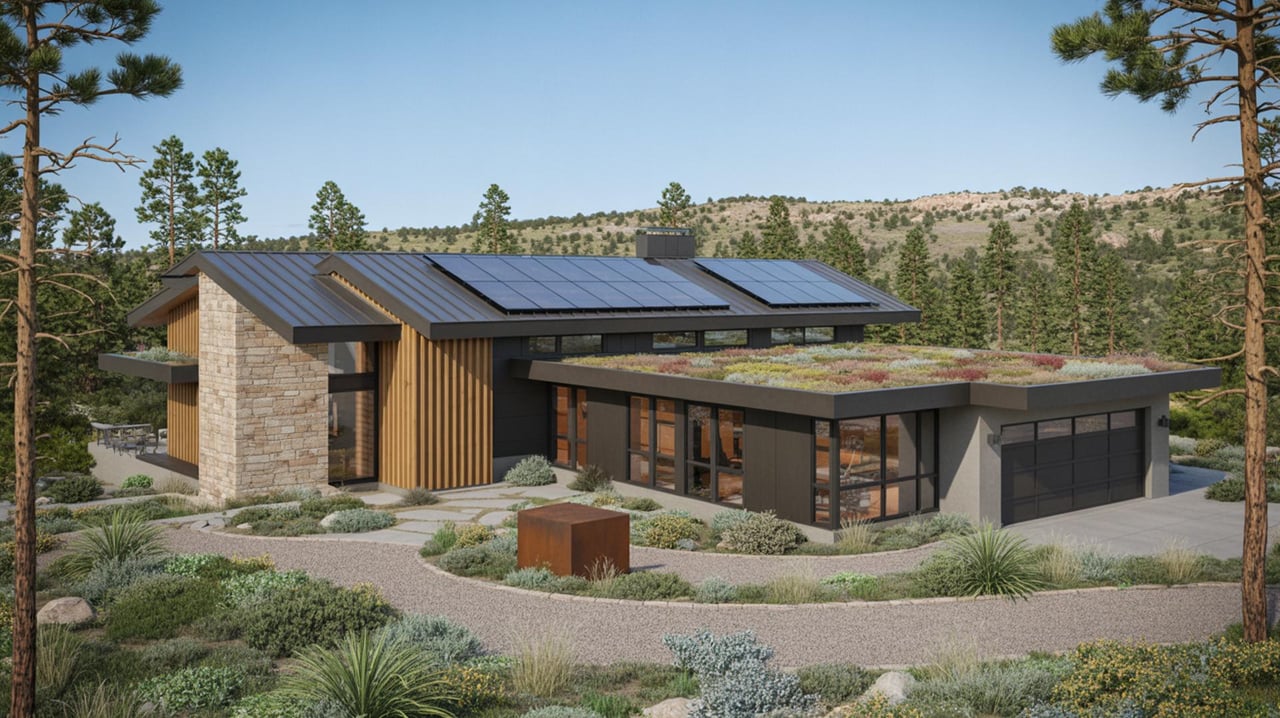
Your first listing photo is your online curbside hello. In Denver’s bright, high-altitude light, small choices in color, landscaping, and window treatments can make a big difference in how your home shows on screen. If you want that scroll-stopping cover image, a little planning goes a long way.
In this guide, you’ll get a clear 4-week plan, Denver-specific tips on light and color, simple window treatment updates, and a day-of photo checklist. The goal is to help you create clean lines, balanced light, and welcoming curb appeal that translate beautifully in photos and in person. Let’s dive in.
Your 4-week plan for photo-ready curb appeal
A focused month of preparation sets up better photos and a stronger first impression online. Here’s a practical week-by-week roadmap tailored to Denver’s sunlight and climate.
Week 4: Assess and schedule
- Walk your property and photograph every exterior angle from the street and front approach. Use these images to spot repairs and clutter.
- Confirm any HOA or Denver historic preservation rules before you paint or change fixtures. Approvals can take time, so start now.
- Order paint samples and window treatments. Book your painter, landscaper, and real estate photographer.
- List needed repairs: cracked walks, peeling trim, loose railings, damaged gutters, broken glass, or torn screens.
Week 3: Repair, paint, and hardscape prep
- Fix safety items first, including steps, handrails, and trip hazards.
- Power-wash siding, walks, and driveway to remove grime and brighten surfaces.
- Update small details that pop in photos, like house numbers, mailbox, and exterior lights.
- Start exterior paint work now so it cures before photo day. Do touch-ups or a full repaint as needed.
Week 2: Landscape refresh and staging elements
- Prune shrubs to frame the house, not hide it. Remove dead or overgrown plants.
- Add low-water, Denver-appropriate plants for tidy, sustainable curb appeal. Keep new plantings neat and healthy.
- Place coordinated planters at the entry and mulch beds evenly for a clean look.
- Repair or replace screens and clean window frames so edges look crisp in photos.
Week 1: Final clean and photo staging
- Mow, edge, and sweep all walkways and porches. Remove cars, bins, and pet items.
- Spot-clean concrete stains and replace worn welcome mats. Align porch furniture and cushions symmetrically.
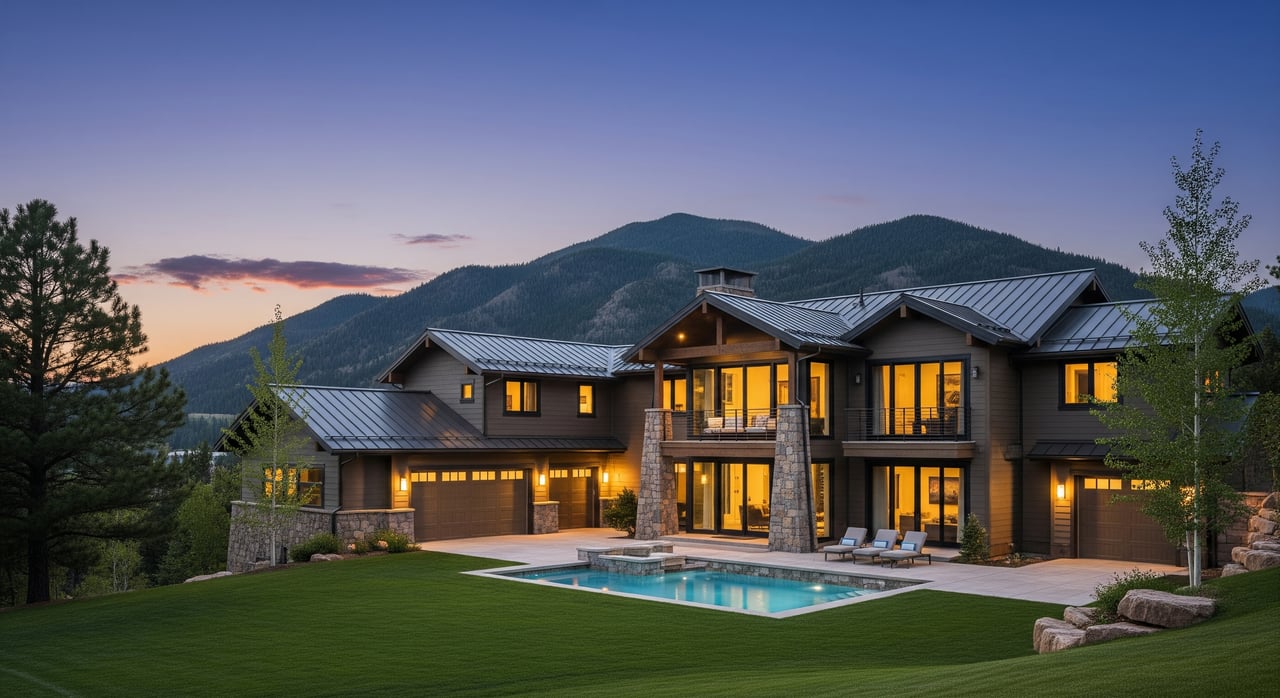
- If you plan twilight photos, check that exterior bulbs match in warm tone and fixtures are clean.
- Do a final window wash, inside and out.
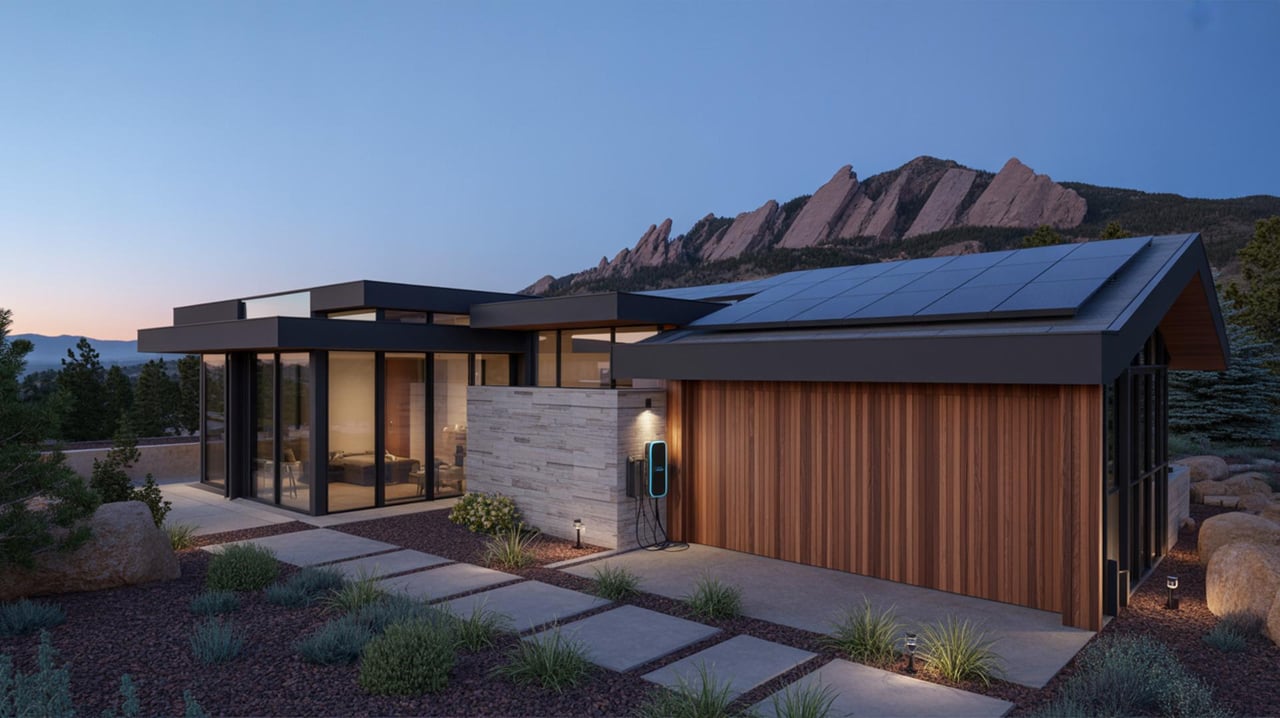
Nail the Denver exterior shot
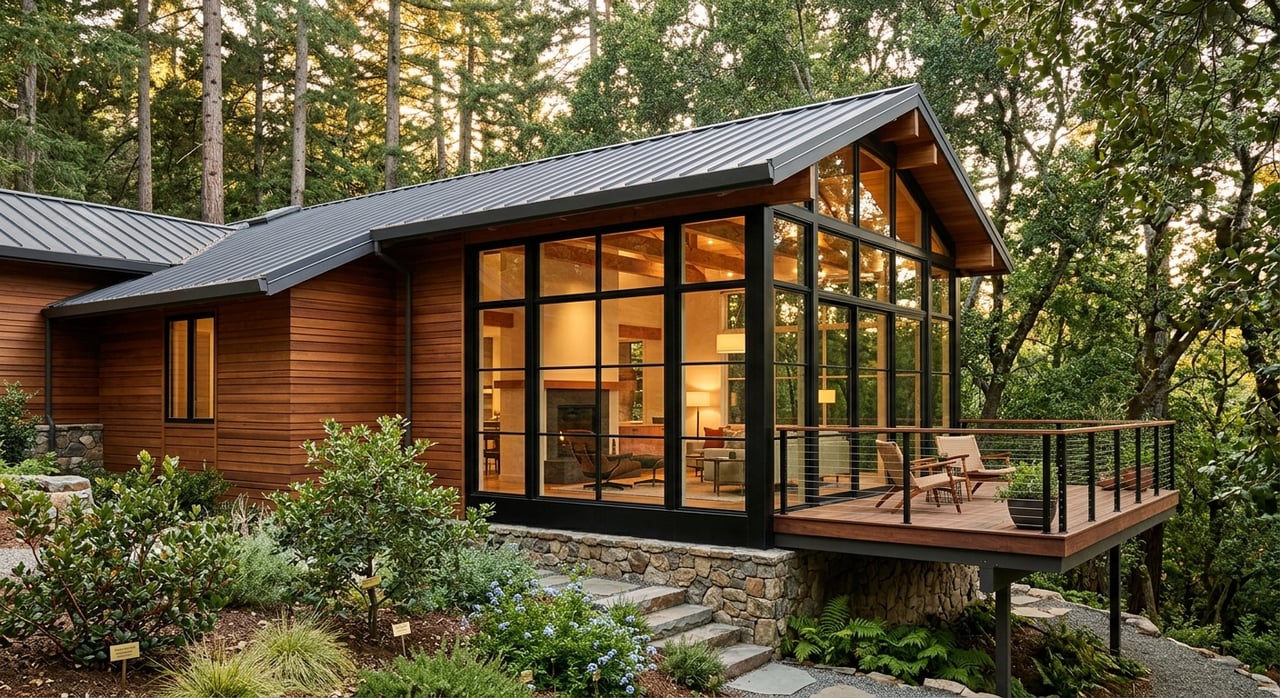
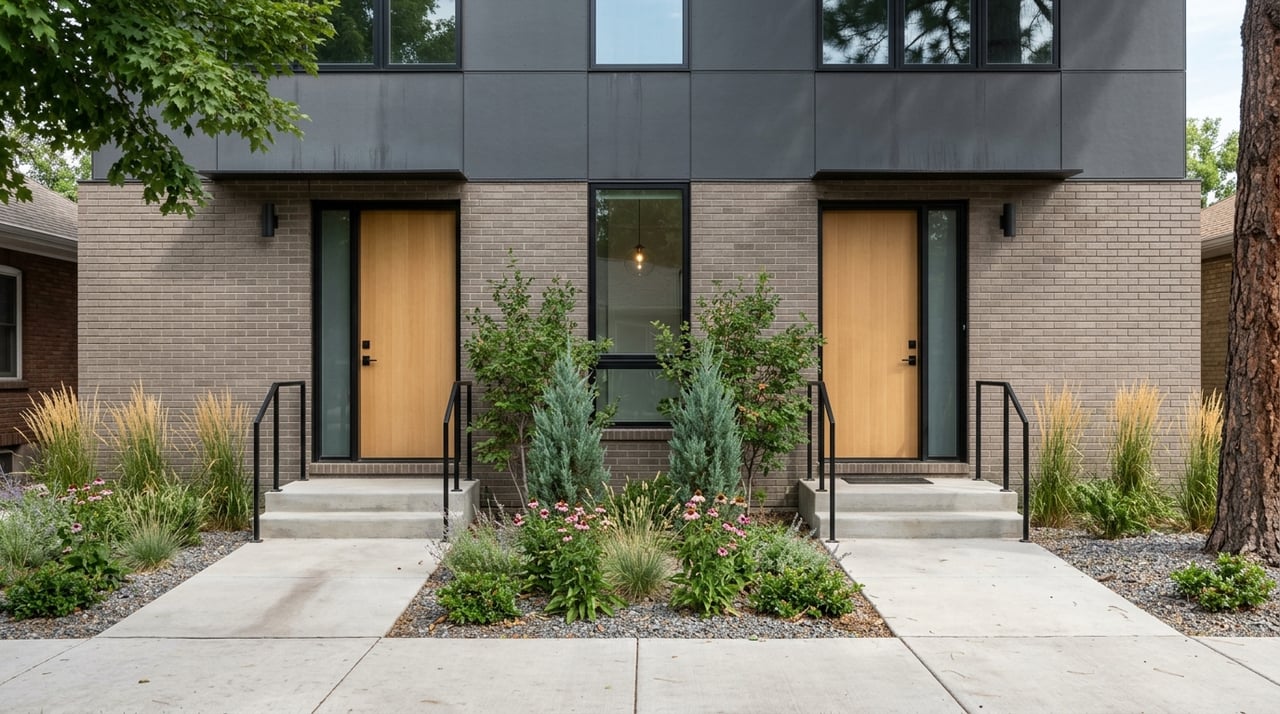
Denver’s high altitude brings bright daylight, deep contrast, and more saturated color. That look is beautiful in person, but cameras can exaggerate shadows and color shifts if you do not plan for it.
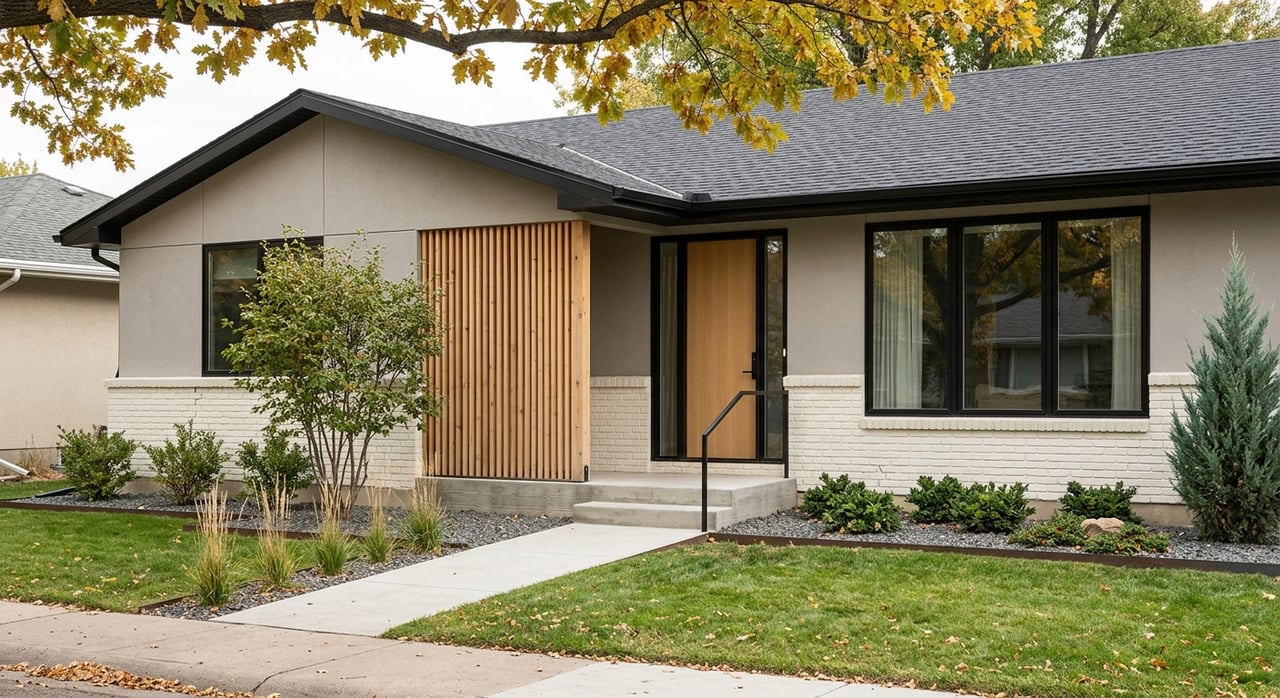
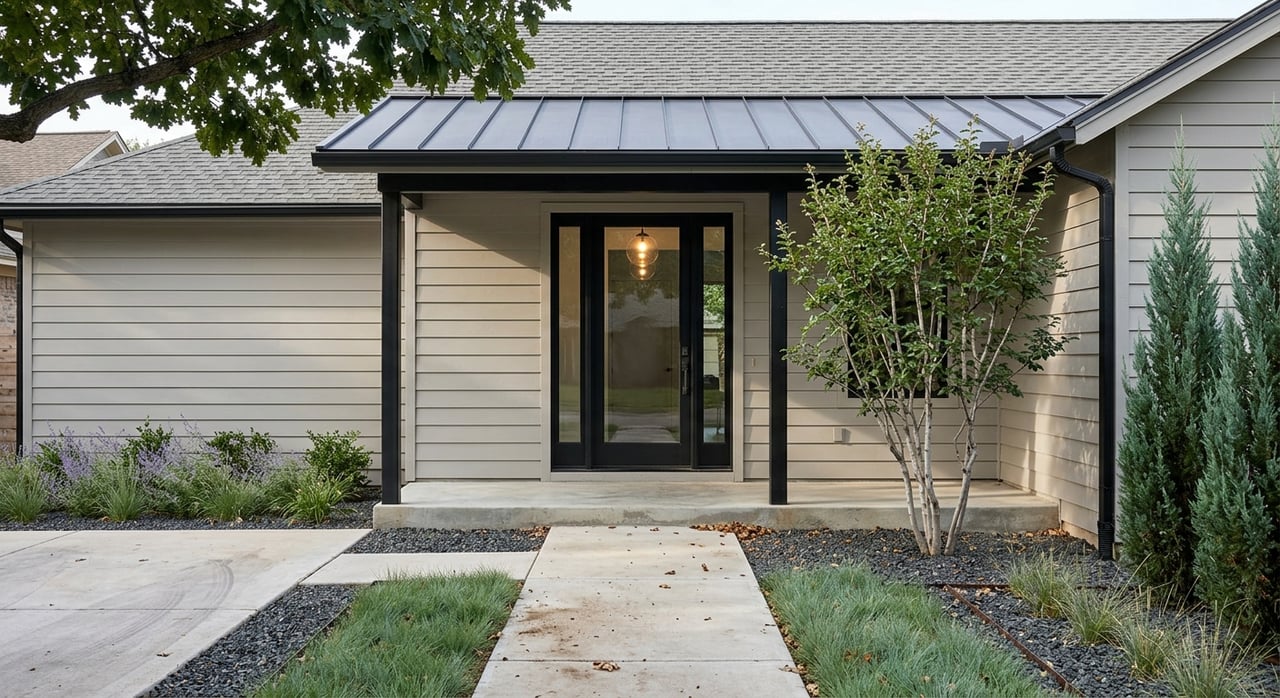
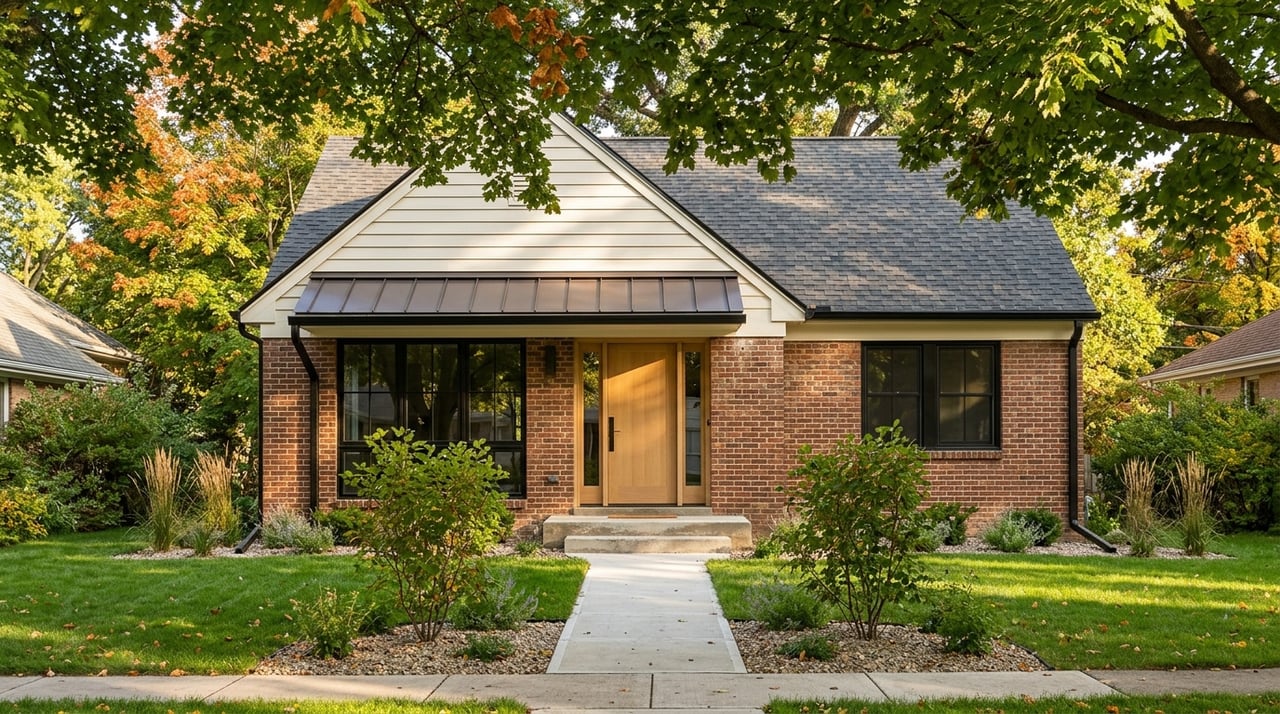
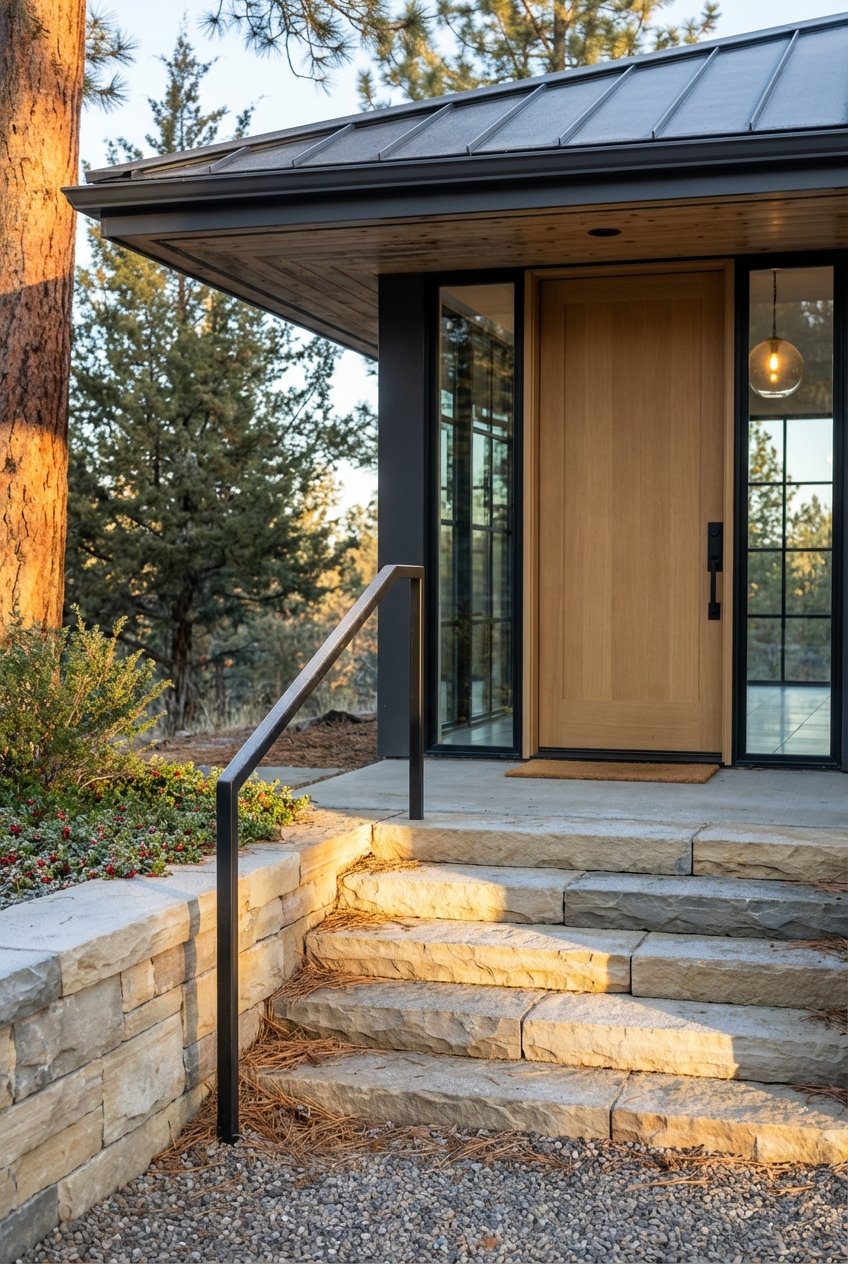
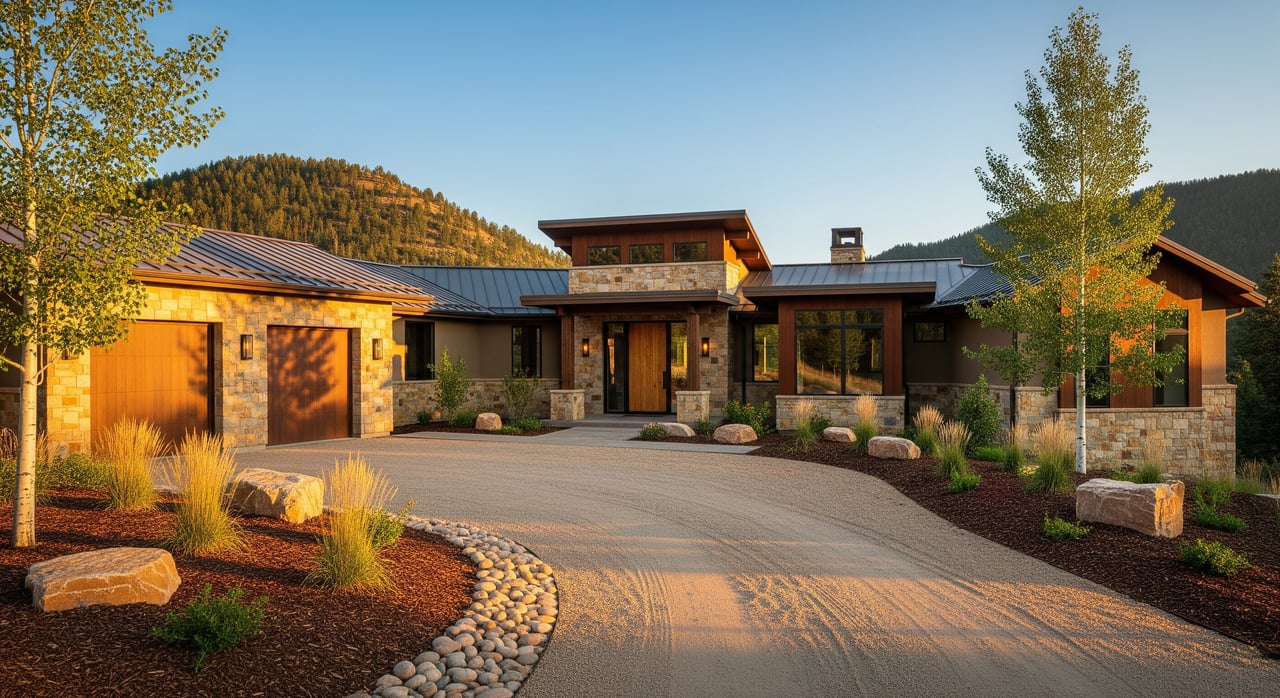
Choose durable finishes that read well
- Pick exterior paints rated for high UV and temperature swings to avoid premature fading.
- Use matte or low sheen on the main body for even, consistent photos. Reserve satin or semi-gloss for trim to define crisp edges.
- Keep roof, walkways, and trim within a neutral palette so they complement, not compete, with siding.
Landscape for clean lines
- Keep lines of sight clear to the entry and architectural features.
- Opt for orderly, low-maintenance beds that look tidy on camera. Uneven or freshly dumped mulch can read patchy, so spread it smoothly.
- Add a single, simple focal point near the door, like two matching planters.
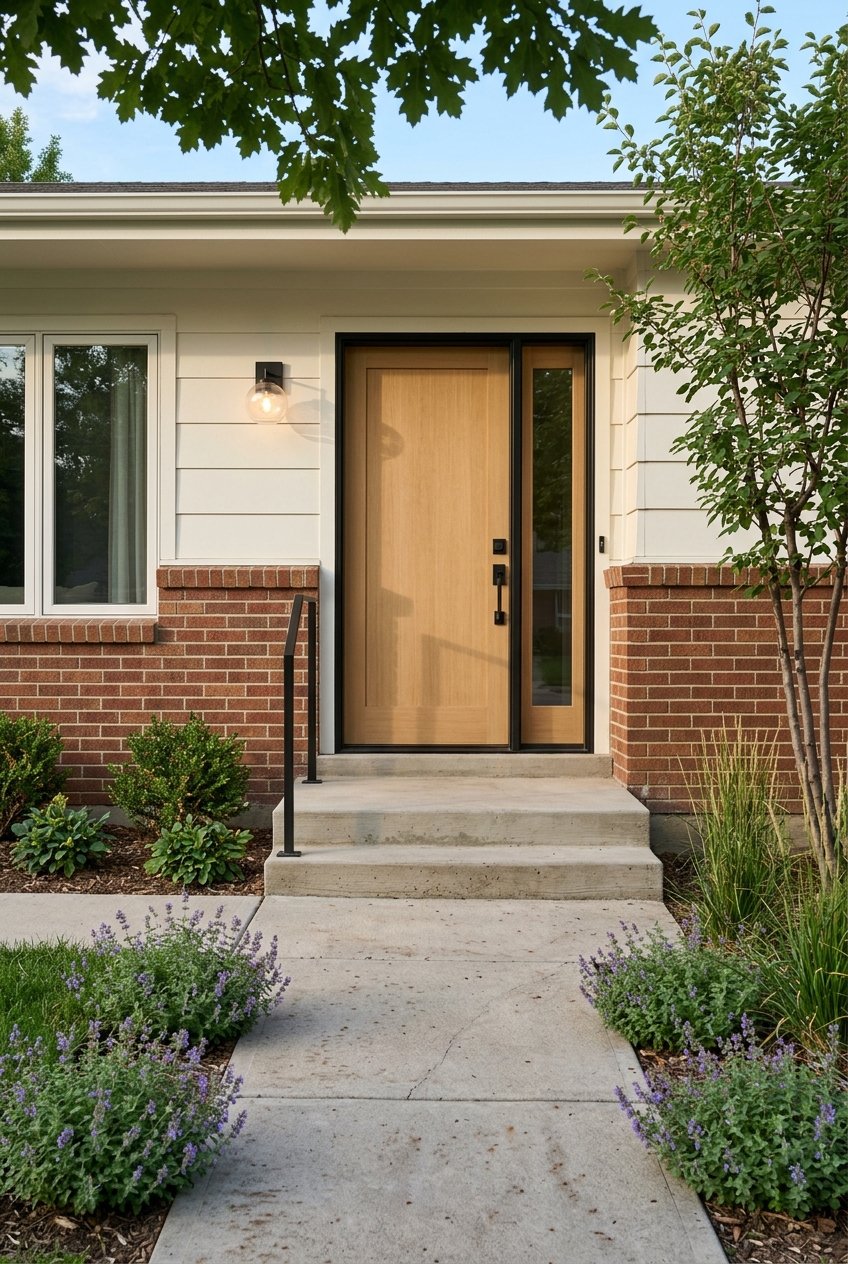
Small details photograph big
- Modern, visible house numbers and a refreshed mailbox raise perceived quality.
- Clean, coordinated exterior fixtures help balance warm evening light.
- Hide hoses, tools, and extra décor that clutter the composition.
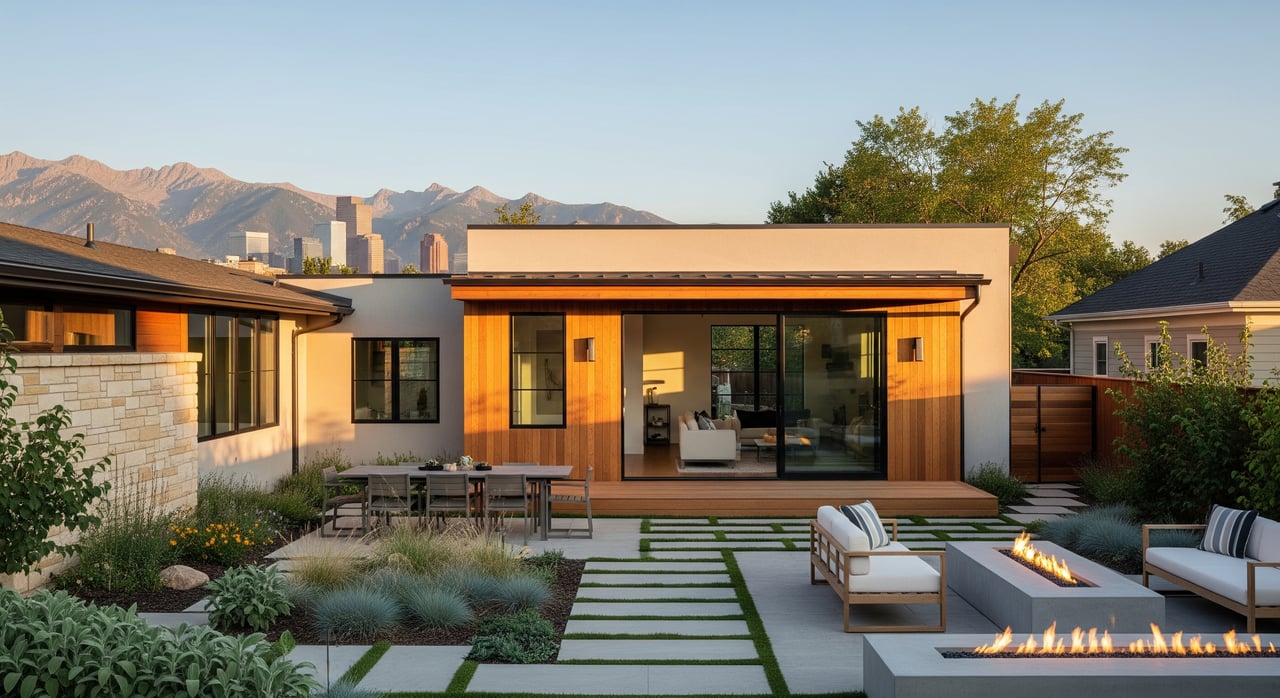
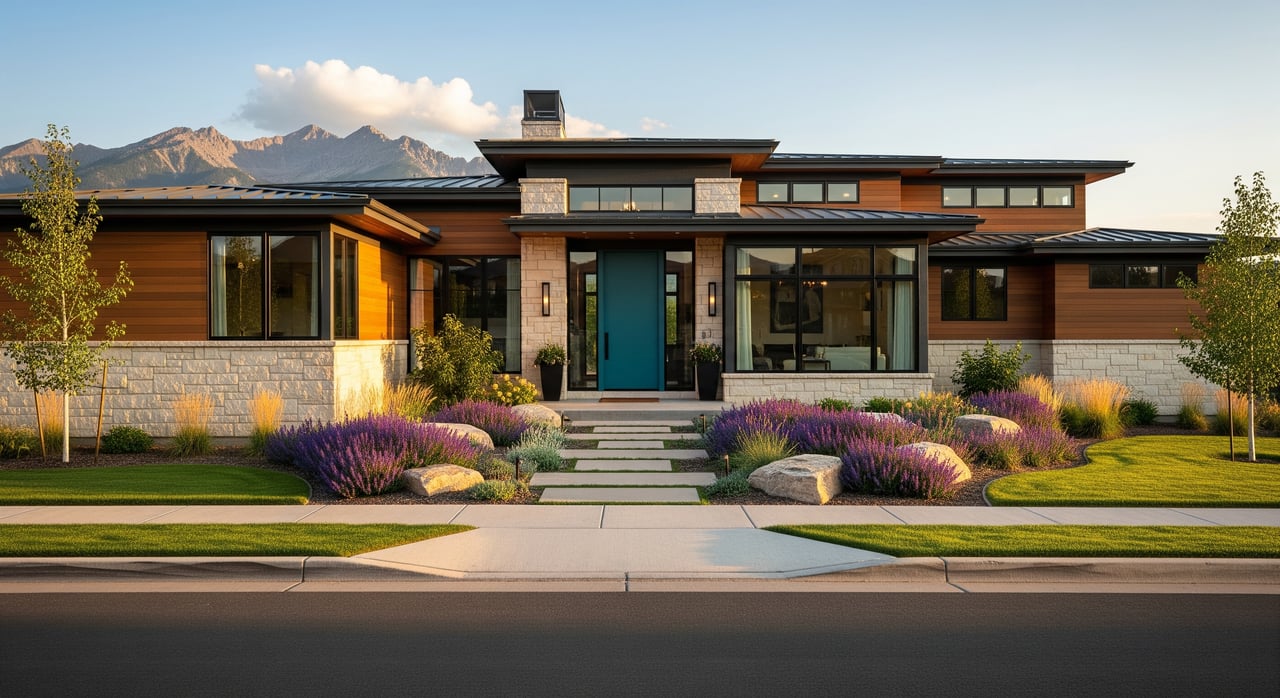
Pick paint colors that photograph beautifully
The right neutrals create predictable, balanced color across bright sun and shade, which is key for photos and consistency across devices.
Palette principles for Denver light
- Favor warm neutrals like soft taupe, warm off-white, or greige. They read inviting in Denver’s high-contrast sun.
- Cool greys can look sharp on contemporary homes. Balance them with warm trim or natural materials to avoid a harsh read at midday.
- Choose a soft white for trim instead of a stark bright white, which can blow out in direct sun.
- Use one restrained accent, such as a deep navy, charcoal, or muted red on the front door, to guide the eye without oversaturating.
Finishes that reduce glare
- Body: eggshell to satin for subtle depth and to hide small imperfections.
- Trim: satin to semi-gloss to sharpen edges and catch light without hotspots.
- Avoid high gloss on large surfaces. It can produce uneven highlights under intense sunlight.
Sample and test like a pro
- Paint samples on multiple sides of your home and view them at morning, midday, and late afternoon.
- Compare how each color looks in shade and sun. Take phone photos and review on more than one screen for undertone shifts.
- If you have HOA or historic oversight, prepare 2 to 3 compliant swatches before you submit.
Confirm approvals early
- Many Denver neighborhoods have specific rules for exterior colors and changes. Start the approval process in Week 4 so you have time to paint and cure before photos.
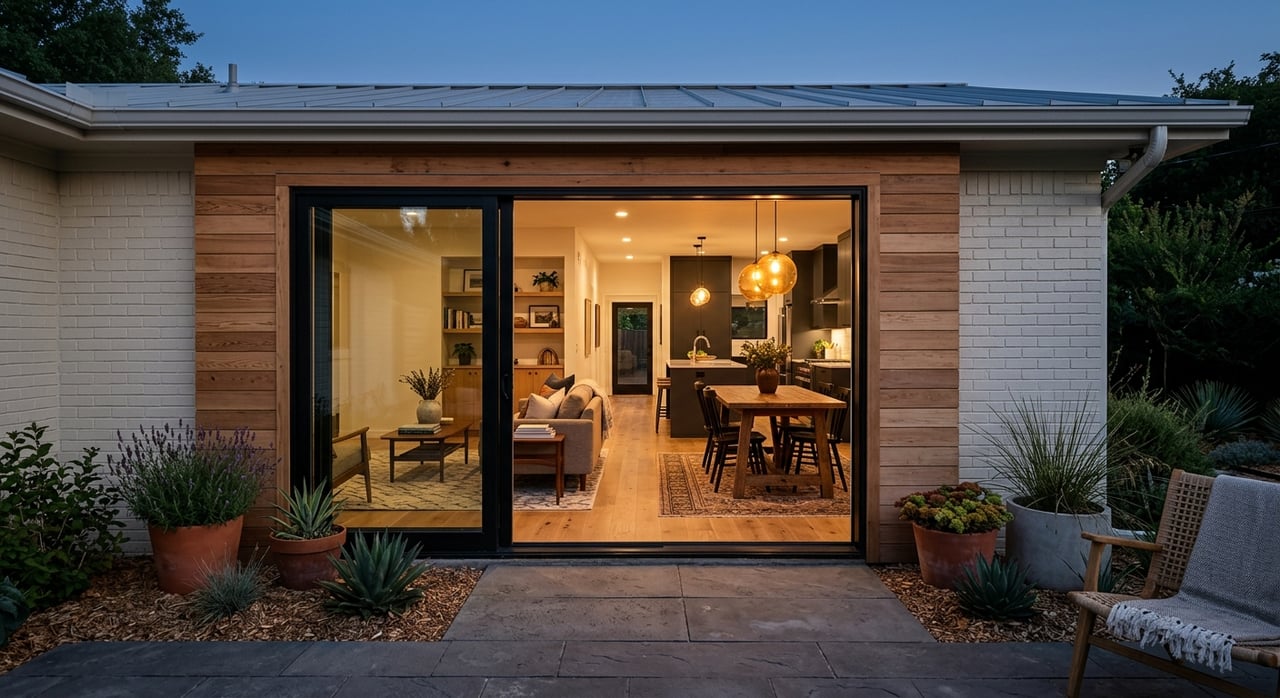
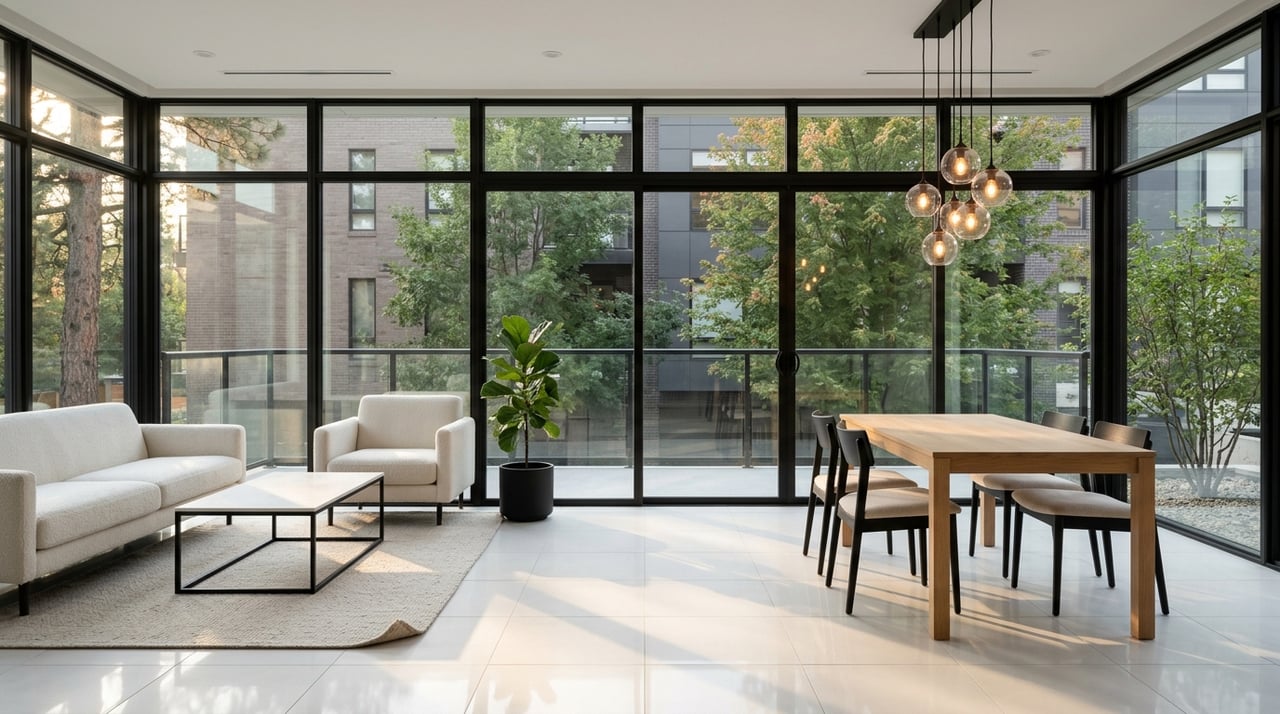
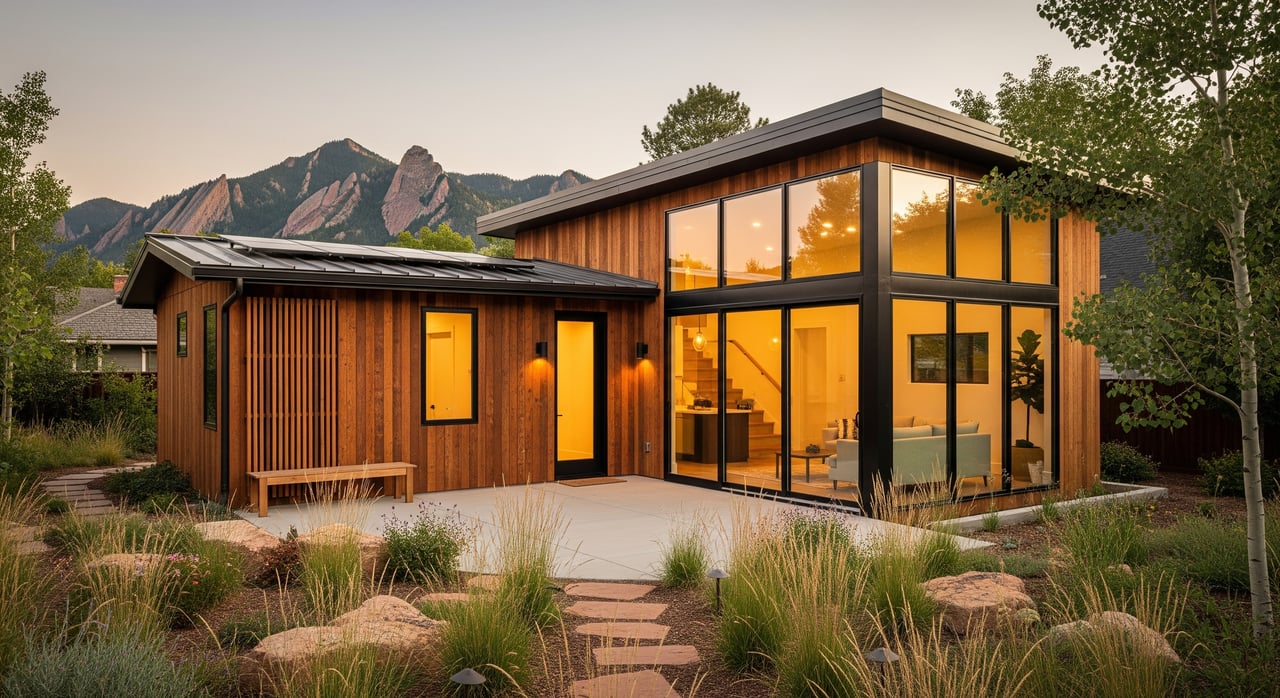
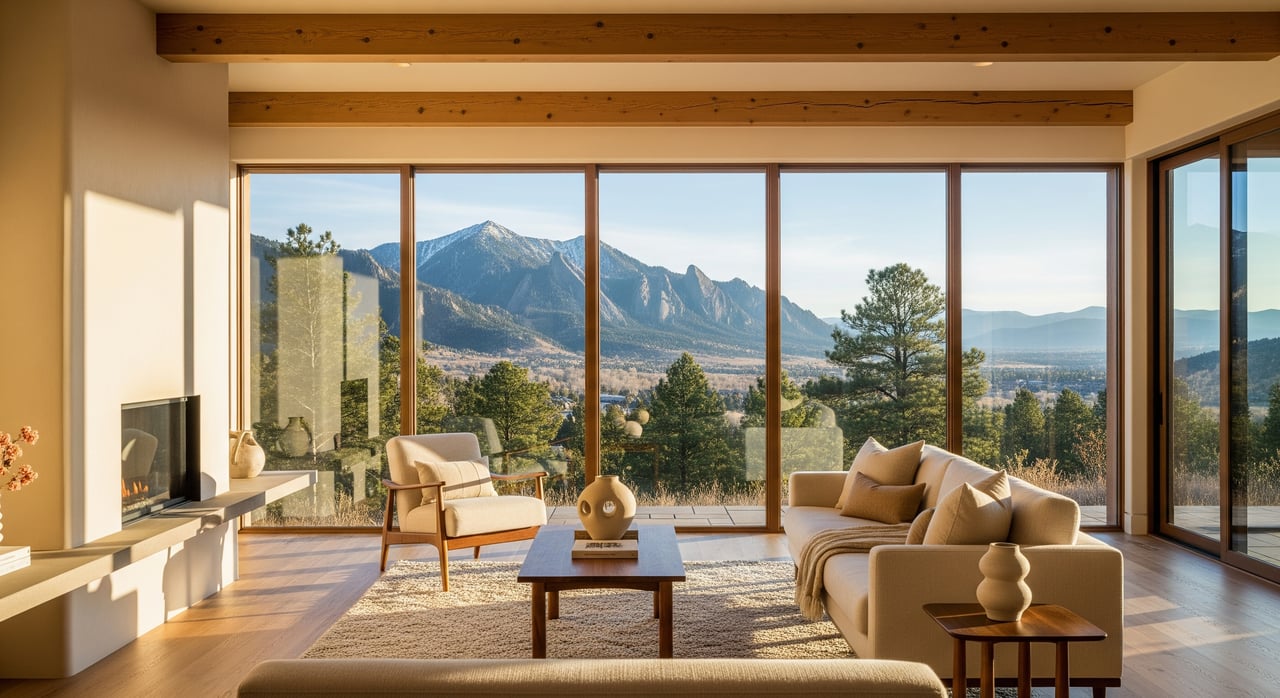
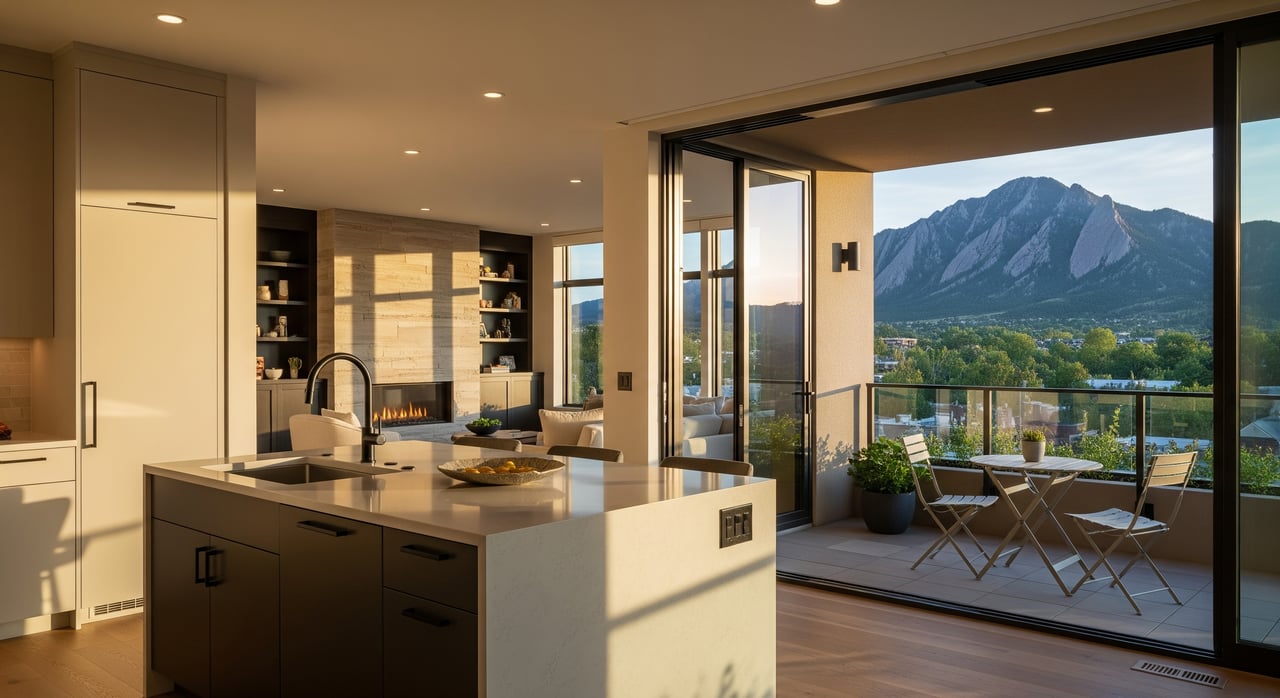
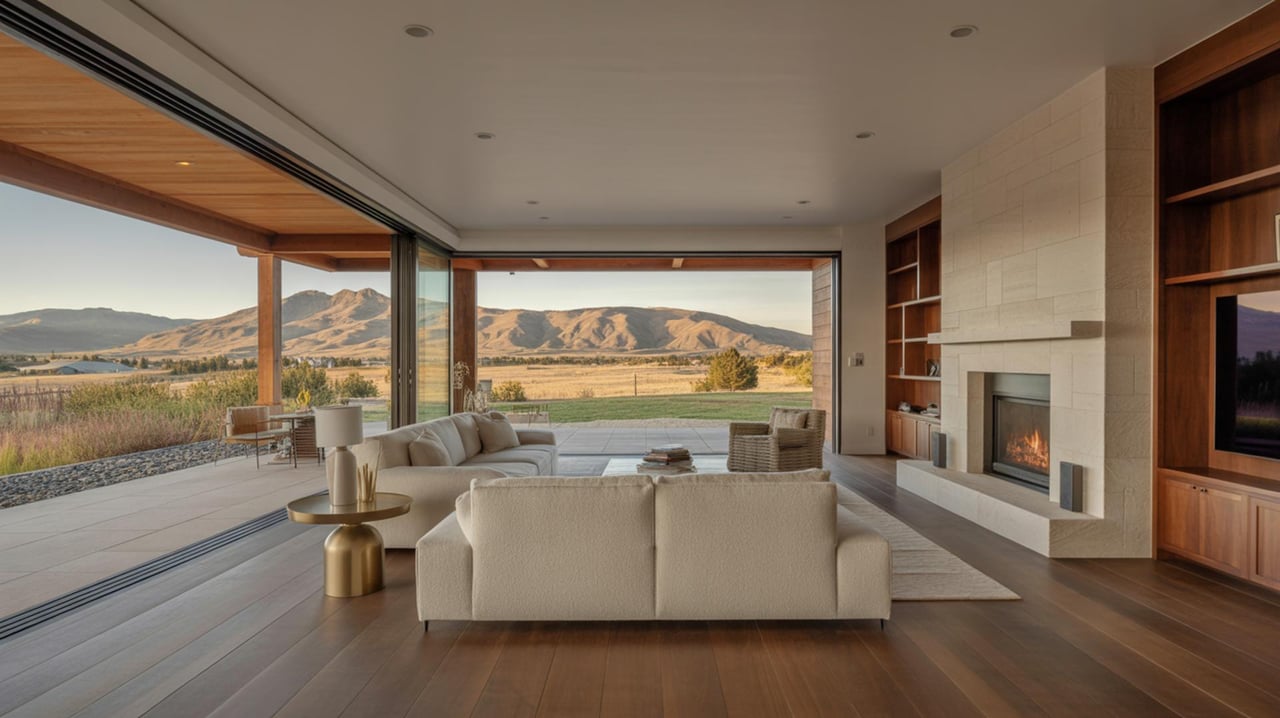
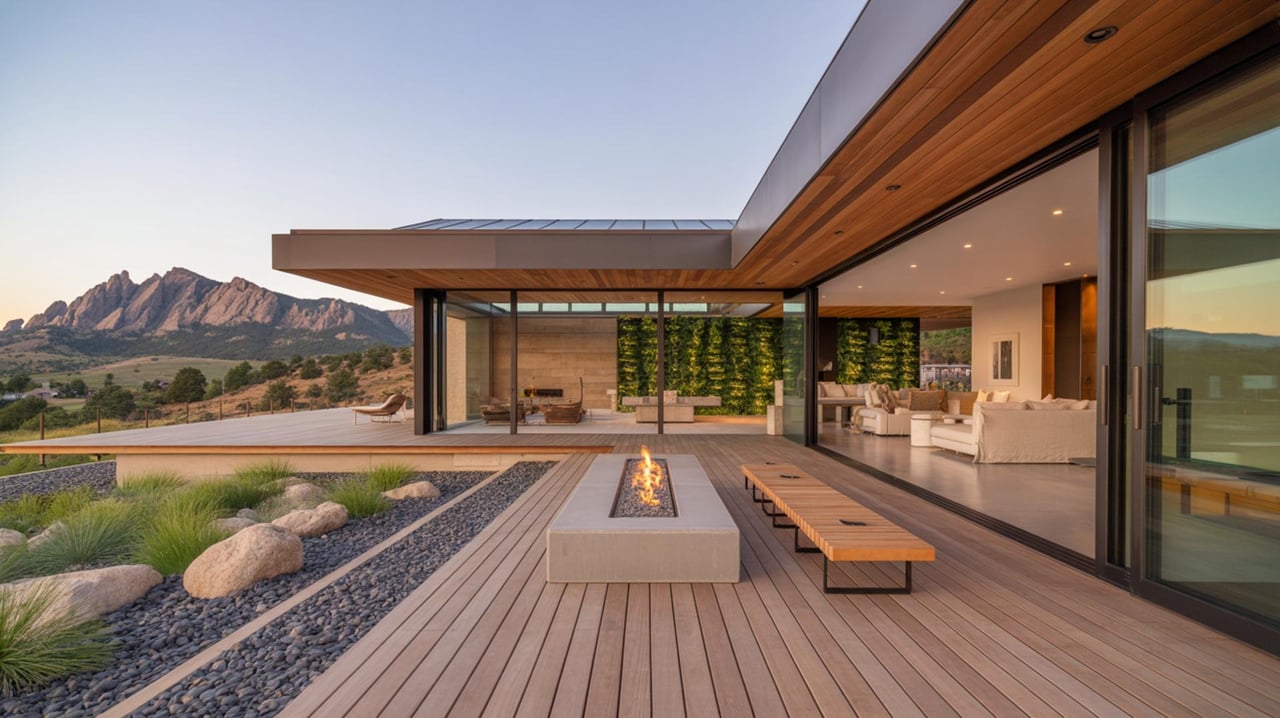
Windows and natural light inside
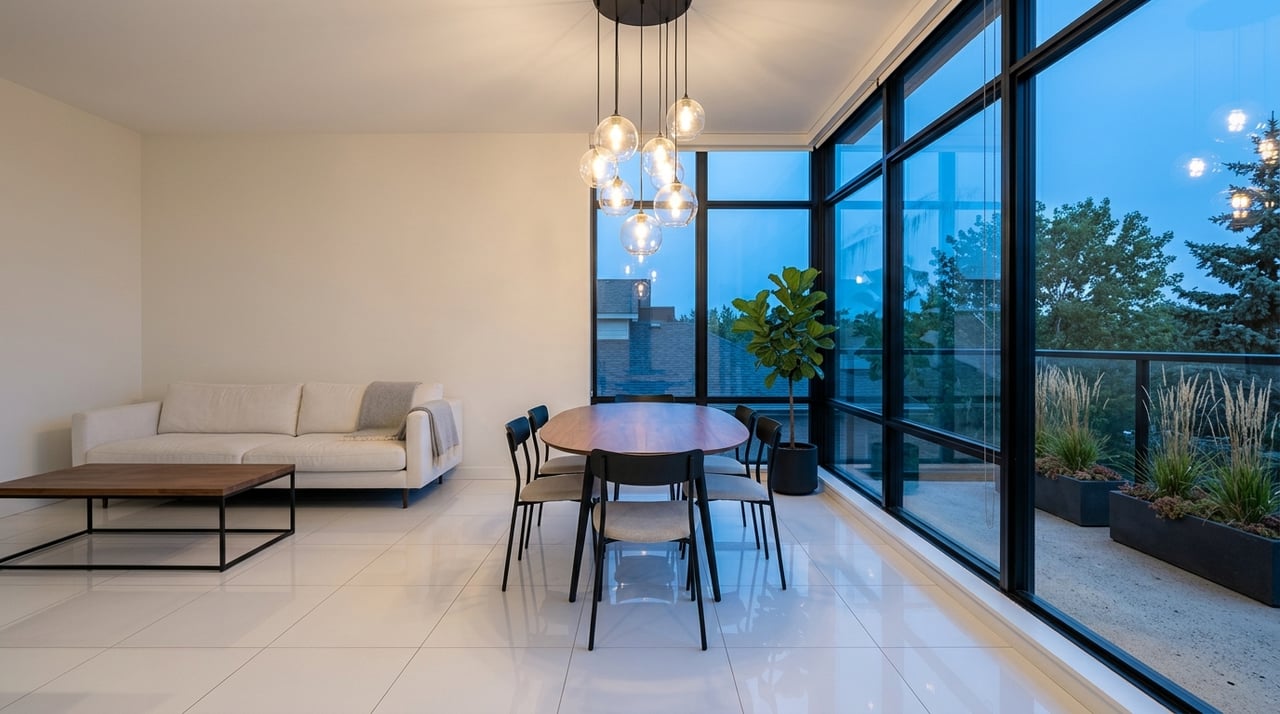
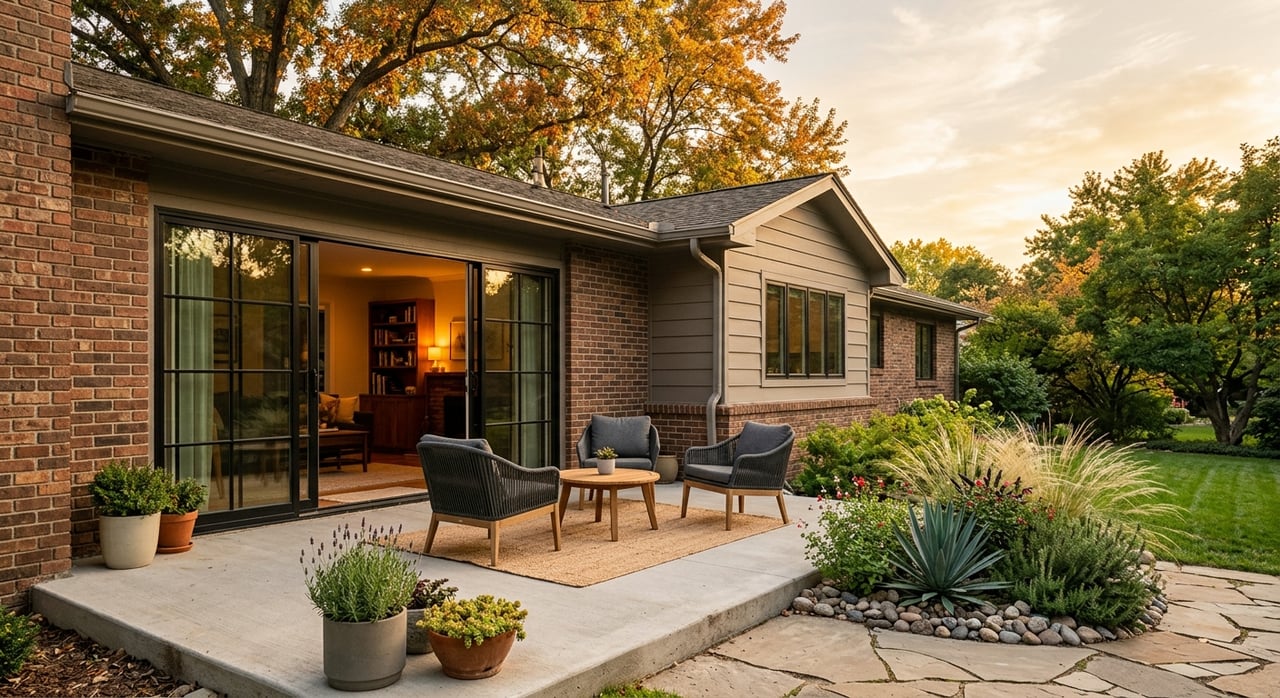
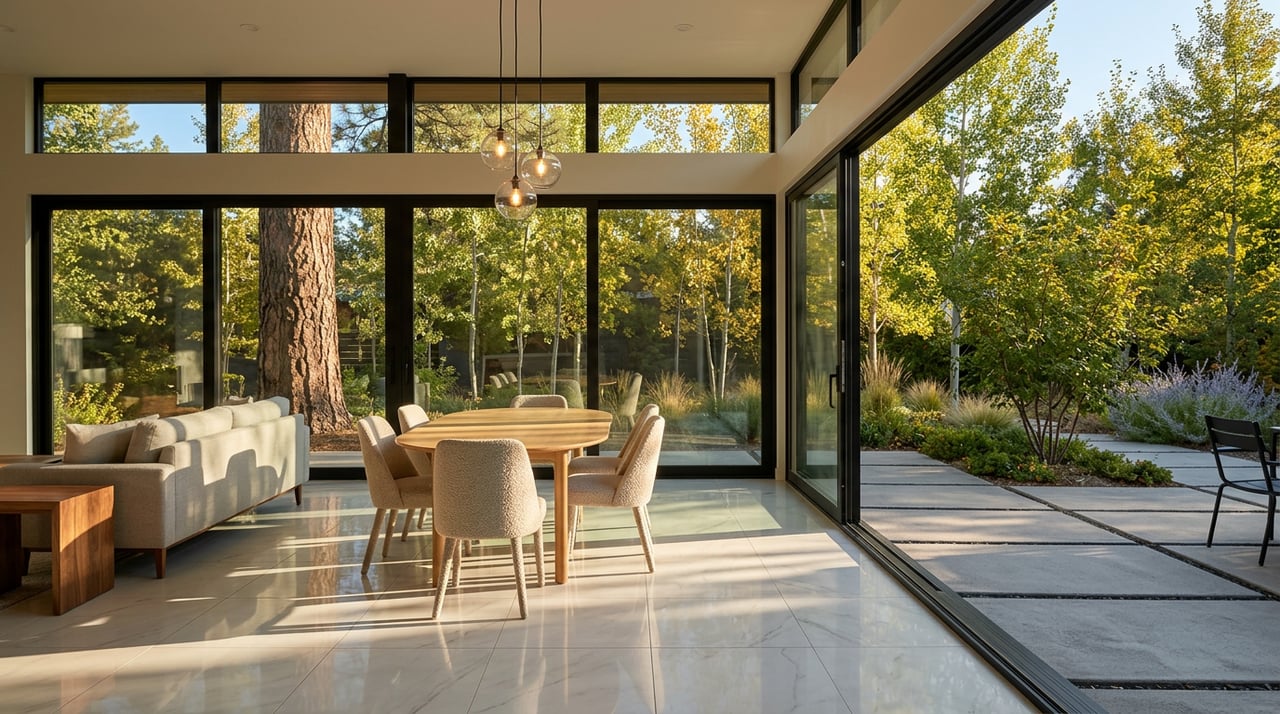
Natural light is one of Denver’s best assets. Your goal is bright, airy rooms with even exposures and minimal glare.
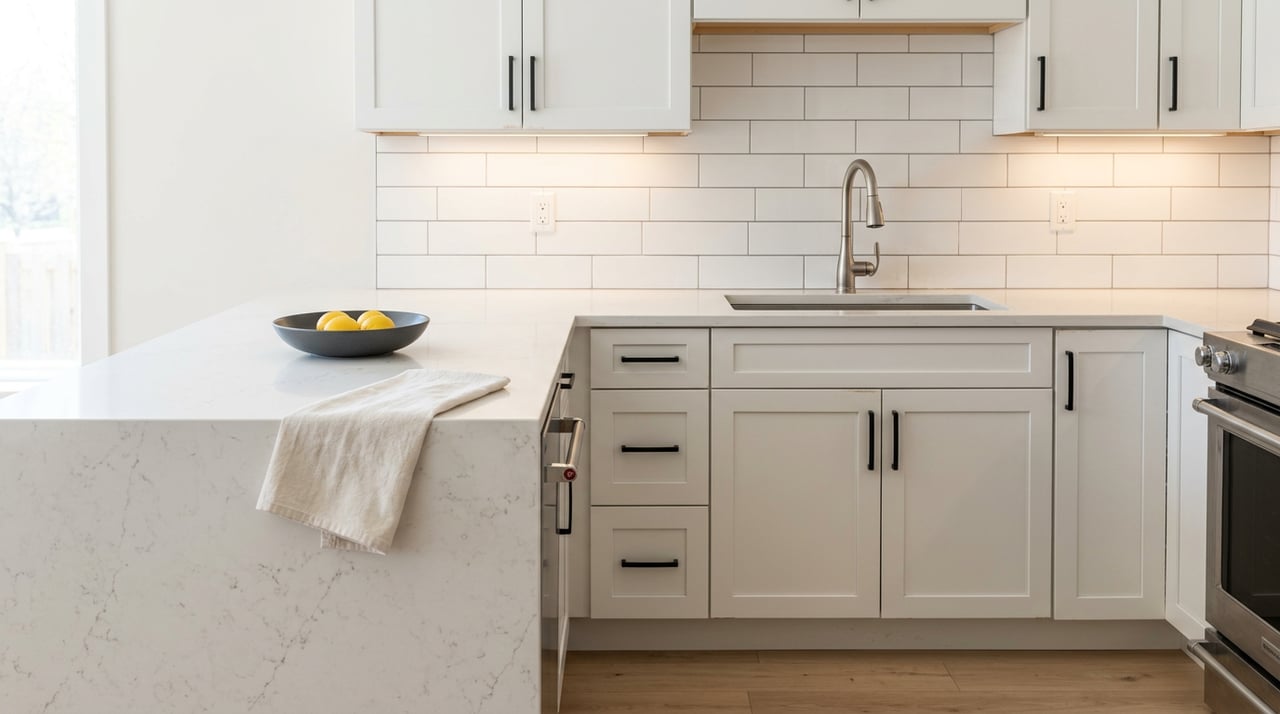
Clean, repair, and declutter windows
- Wash every pane inside and out. Cameras pick up streaks and fogging.
- Replace cracked glass and failed thermal seals that look cloudy.
- Remove worn or dark screens for photos if possible, or realign them to be invisible from the camera angle.
Window treatments that enhance light
- Sheer panels in white or off-white diffuse harsh sun for a soft glow.
- Light-filtering cellular or roller shades keep lines clean and control glare. Top-down styles allow privacy while admitting sky light.
- Neutral roman shades add texture without pattern noise. Avoid heavy, dark draperies that block light and make rooms feel smaller.
Install and style for scale
- Hang rods 4 to 8 inches above the frame or near the ceiling to lift the eye.
- Extend rods 8 to 12 inches beyond each side so panels open fully and do not block glass.
- Choose floor-length panels that just kiss the floor. Use tiebacks or holdbacks to keep panels wide open on photo day.
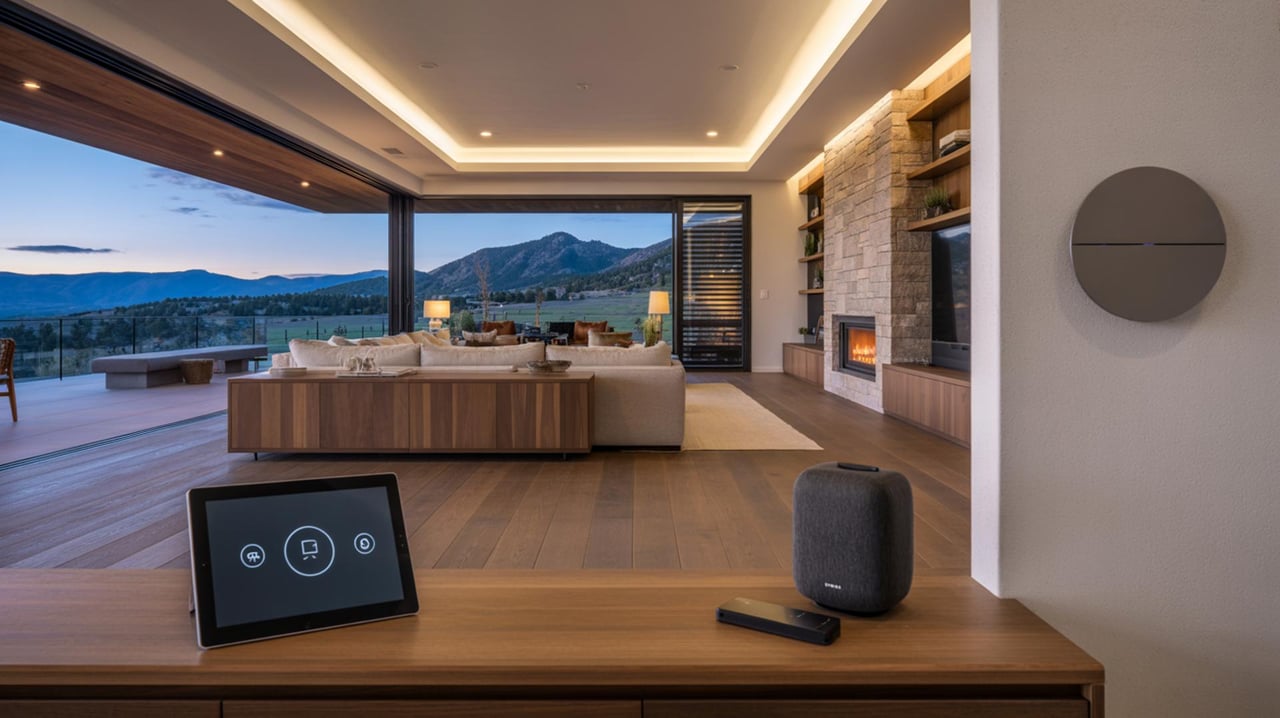
Balance daylight with interior bulbs
- Use consistent warm white bulbs, about 2700 to 3000K, across fixtures to avoid mixed color casts.
- Turn on lamps and ceiling lights even during the day. Added warmth helps cameras render true color.
- Skip highly reflective blinds or metallic finishes that produce harsh highlights.
Photo day checklist
A simple checklist keeps the shoot smooth and the results consistent.
Time the front photo
- East-facing facades: morning light is usually best.
- West-facing facades: late afternoon to early evening softens shadows.
- North-facing facades: mid-day or lightly overcast conditions create even light.
- Work with your photographer to plan both daylight and twilight if your exterior lighting is a feature.
Quick exterior reset
- Remove cars from the driveway and the street in front if possible.
- Close garage doors unless the interior is staged.
- Open all curtains, align blinds, and raise shades evenly.
- Place one or two fresh planters at the entry and tidy porch seating.
Interior readiness for bright, even rooms
- Turn on all lights, confirm matching bulb color temperature, and hide cords.
- Clear window sills, remove personal items, and secure pets and gear.
- Ensure heavy furniture does not block windows or sightlines.
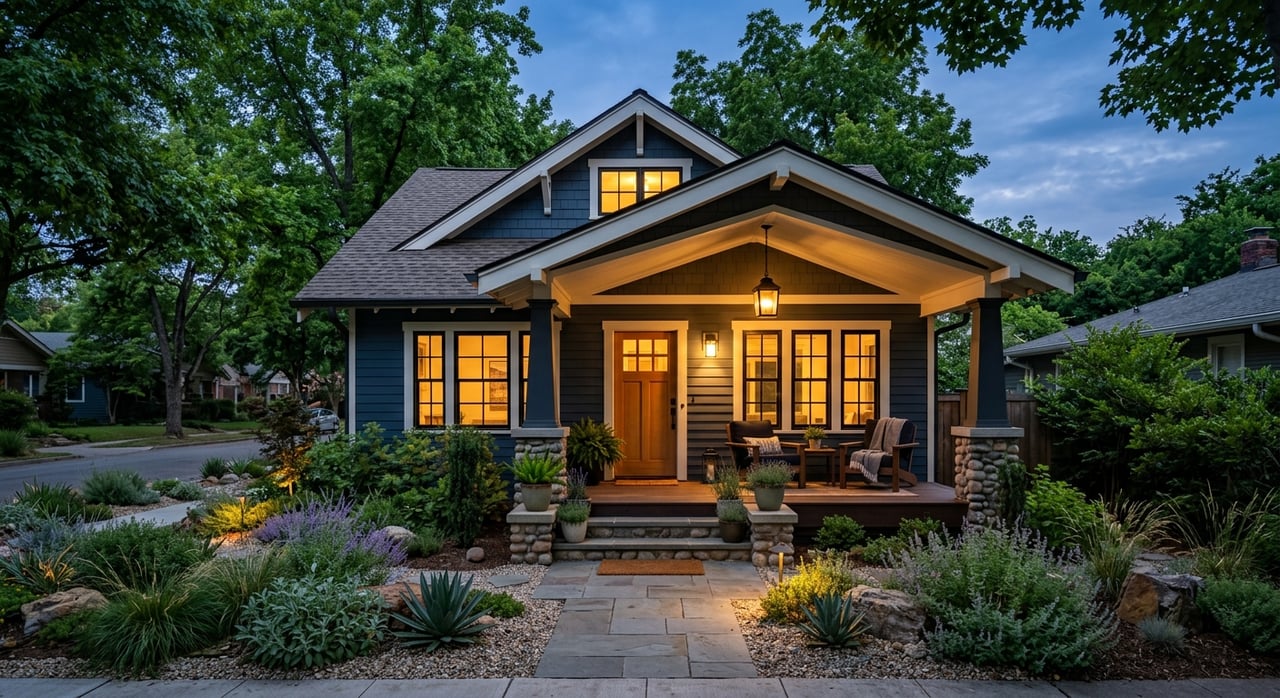
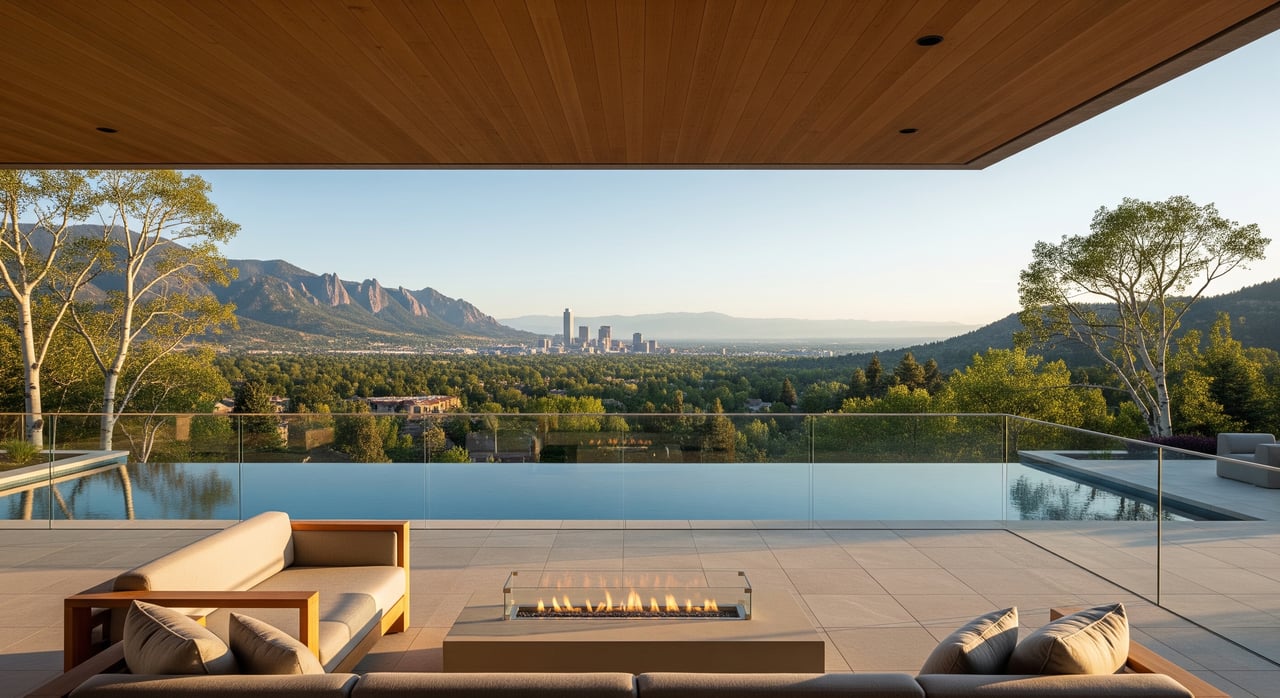
Daylight and twilight strategy
- Use daylight for the cover image to show surroundings and context.
- Capture twilight as a secondary set to showcase warm glow and exterior fixtures if they are a selling feature.
Budget and scheduling tips
- Start early. Allow 1 to 2 weeks for HOA or historic approvals in many areas.
- Book painters and landscapers 3 to 6 weeks ahead during spring and summer.
- Get multiple bids for paint, landscape, and window treatment installs. Prioritize items that show up clearly in photos, like the entry door, house numbers, lighting, and window cleaning.
Make your first photo work harder
Your first exterior image sets the tone for online buyers and often drives clicks and showing requests. In Denver’s bright light, you can gain a clear edge by pairing warm, camera-friendly neutrals with tidy, low-maintenance landscaping and simple window treatments that flood rooms with soft, even light. With a focused month of prep and a strategic photo day plan, your listing will greet buyers with clarity, warmth, and confidence.
Ready to position your home for its best debut? For design-forward prep, market intelligence, and professional photography that tells a strong story, connect with Unknown Company to get your personalized home valuation.
FAQs
What exterior colors photograph best in Denver’s bright light?
- Warm neutrals like soft taupe, greige, and warm off-white tend to look inviting and consistent. Balance cool greys with warm trim or natural textures so they do not read harsh at midday.
How far in advance should I plan before listing photos in Denver?
- Plan 3 to 6 weeks ahead. This allows time for approvals, exterior work, window treatments, and scheduling a professional photographer.
Do I need to repaint the entire exterior or just touch up?
- Touch-ups can work if existing paint is in good shape and color is on strategy. If fading or peeling shows, a full repaint with UV-rated paint is worth the photographic impact.
What window treatments help rooms look brighter in photos?
- Sheer panels, light-filtering cellular or roller shades, and neutral roman shades diffuse glare and keep lines clean. Avoid heavy drapes or busy patterns that block light.
When is the best time to shoot my home’s front exterior in Denver?
- Match timing to orientation. East-facing fronts do best in morning light, west-facing in late afternoon, and north-facing around mid-day or on lightly overcast days.
Should I include twilight photos in my listing?
- Yes, if your exterior lighting or architecture looks great at dusk. Use daylight for the cover image and twilight as a warm, welcoming secondary set.